Personal Profile
Your Profile Settings page is where you personalize ChannelX for yourself — your name and avatar, the dashboard's appearance, how you send messages, your signature, and your password. Everything here applies to you only; nothing on this page changes the experience for your teammates.
To open it, click your avatar in the bottom-left corner of the dashboard and choose Profile settings.
Profile basics
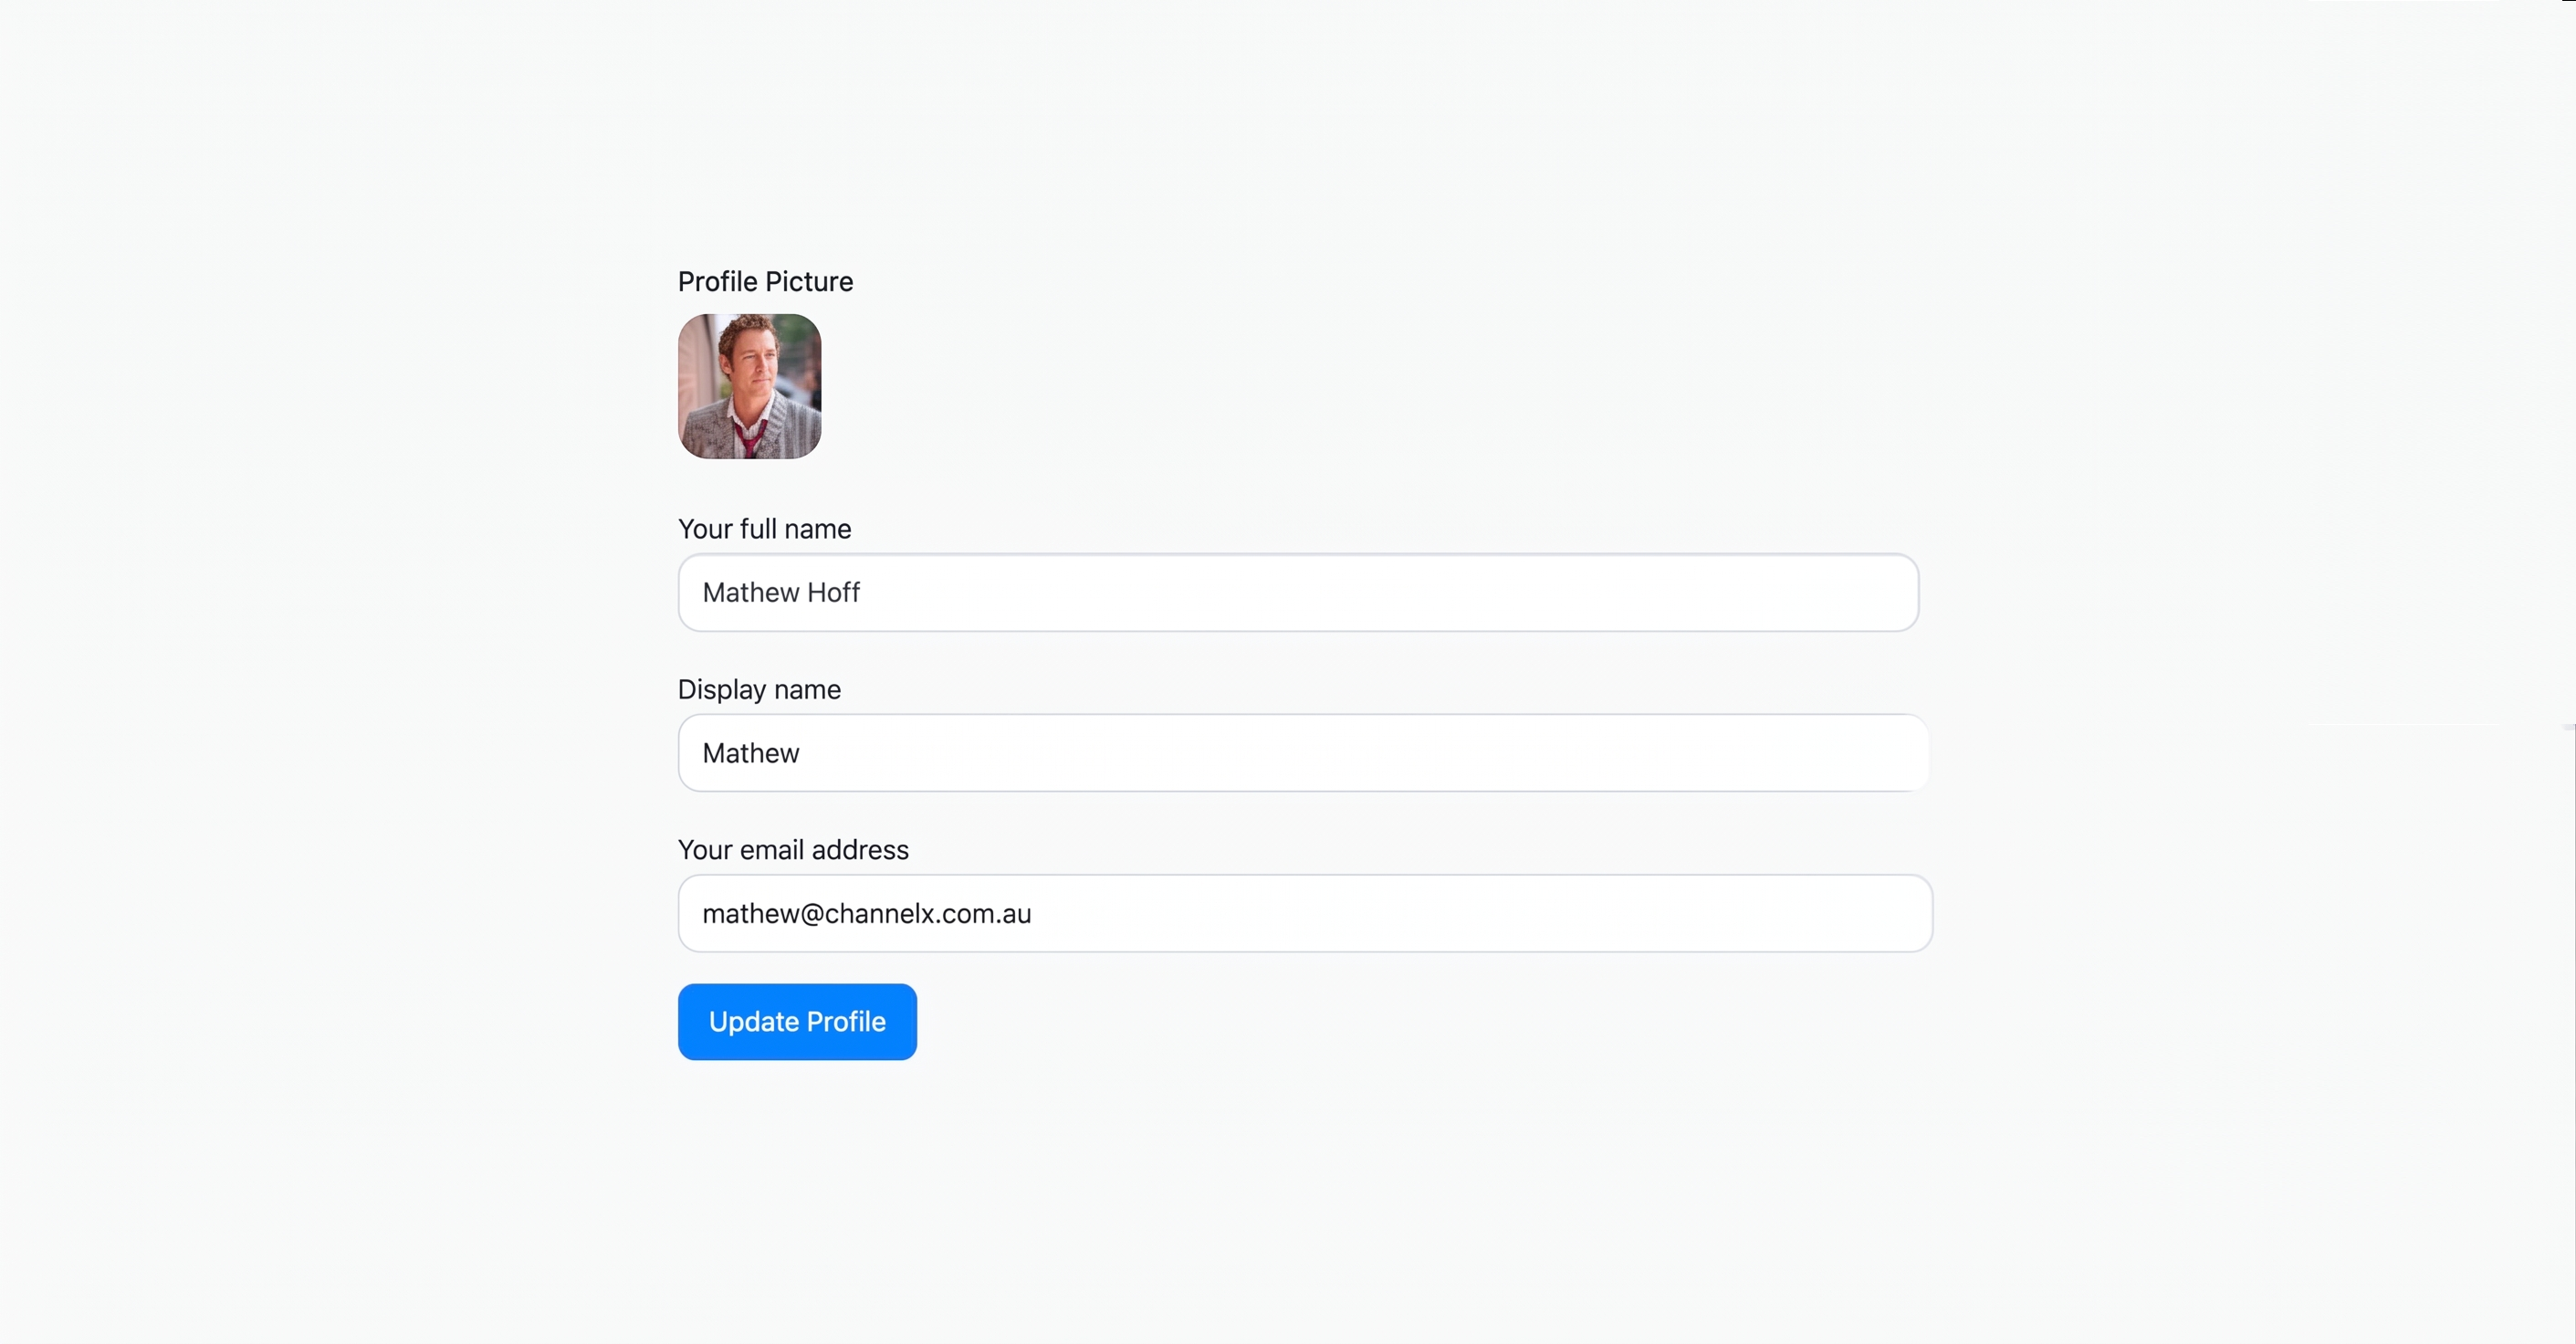
Profile picture. Upload a photo with Upload image. After uploading you can Update image (replace it) or Remove it. Use a clear, recognizable headshot — this is the avatar customers see on your replies.
Your full name. Your real name, used on emails and some internal references.
Display name. The name shown to customers in conversations. Many agents use just a first name here ("Sarah") even when their full name is more formal. If you leave it blank, your full name is used.
Your email address. The address you log in with.
Warning
Changing your email forces you to log in again — ChannelX logs you out so you can re-authenticate with the new credentials. On some deployments the email field is locked (when administrators disable user profile updates).
When you've made your changes, click Update Profile to save.
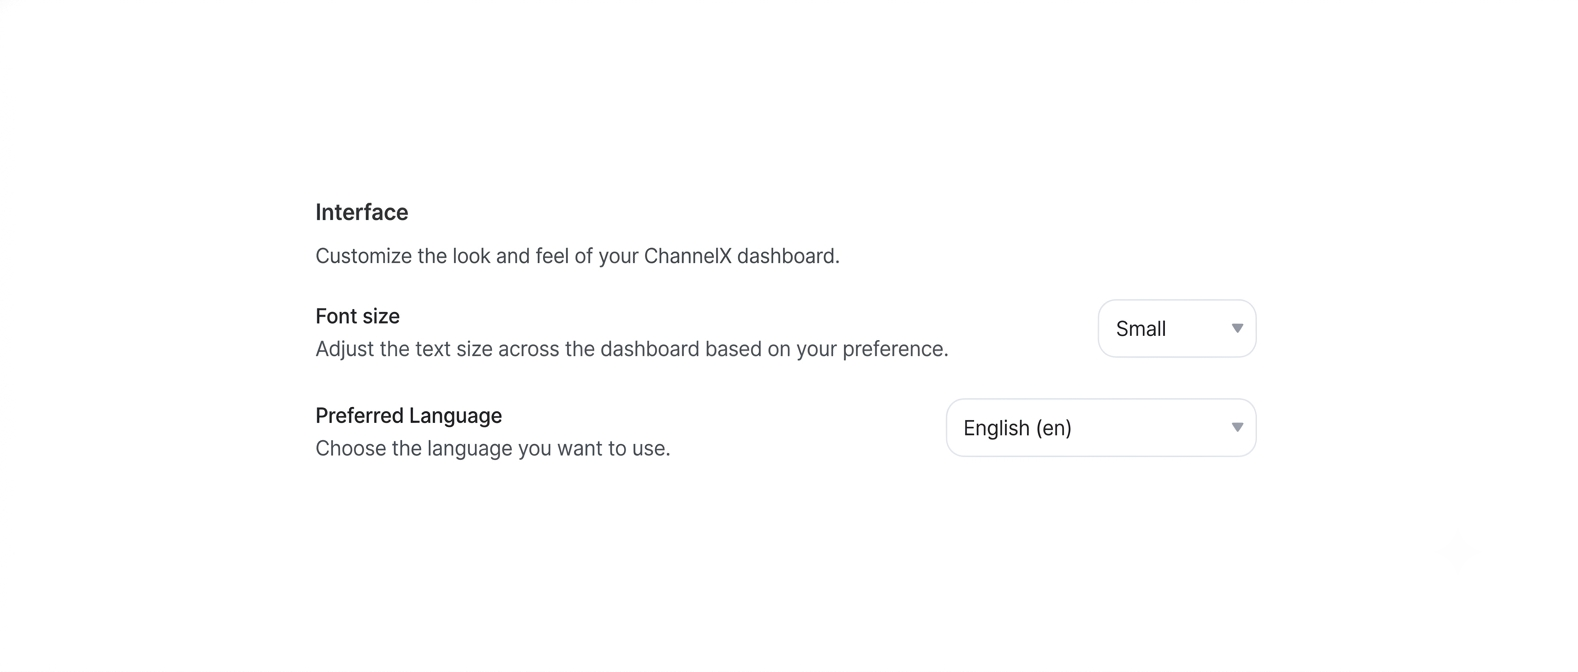
Interface — appearance preferences
Font size. Pick the size that's comfortable for your screen and eyes; changes take effect immediately.
Preferred Language. The language ChannelX's interface uses for you. The default is Use account default — whatever your administrator set. Pick a specific language to override it for your own session. This is purely for the dashboard you see and doesn't change anything customer-facing.
Message signature
A signature block automatically appended to every reply you send from any inbox — useful for sign-offs, support hours, or documentation links. The editor supports rich formatting and inline images (inline images work in live chat, email, and API inboxes; some other channels skip them).
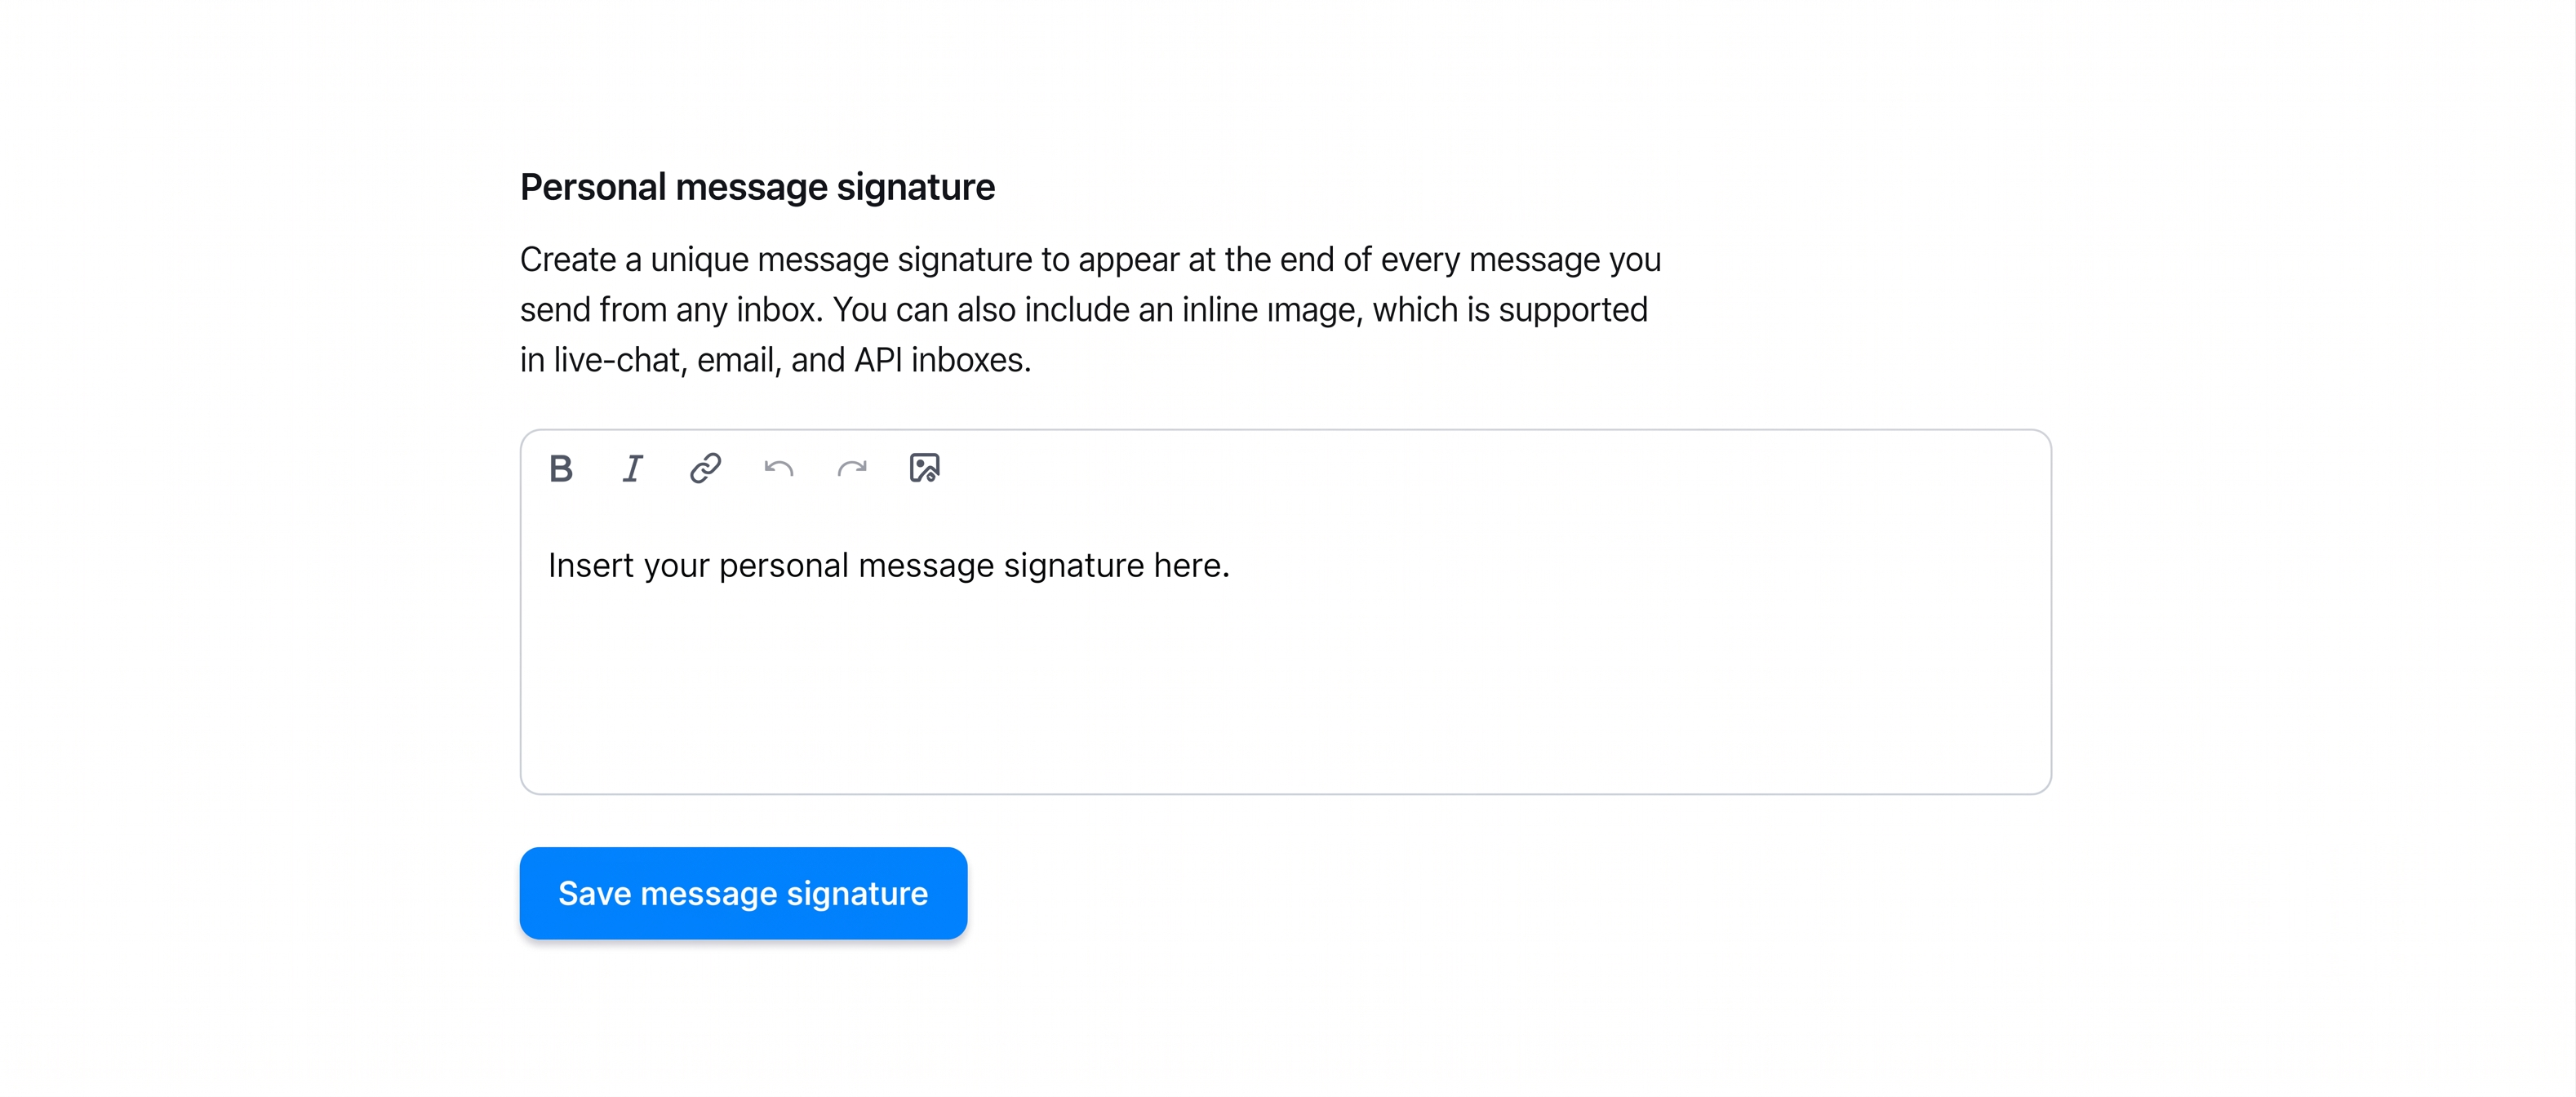
Type or paste your signature, then click Save message signature. A typical signature:
---
Sarah
Localcom Customer Success
sarah@localcom.com.au · localcom.com.au/help
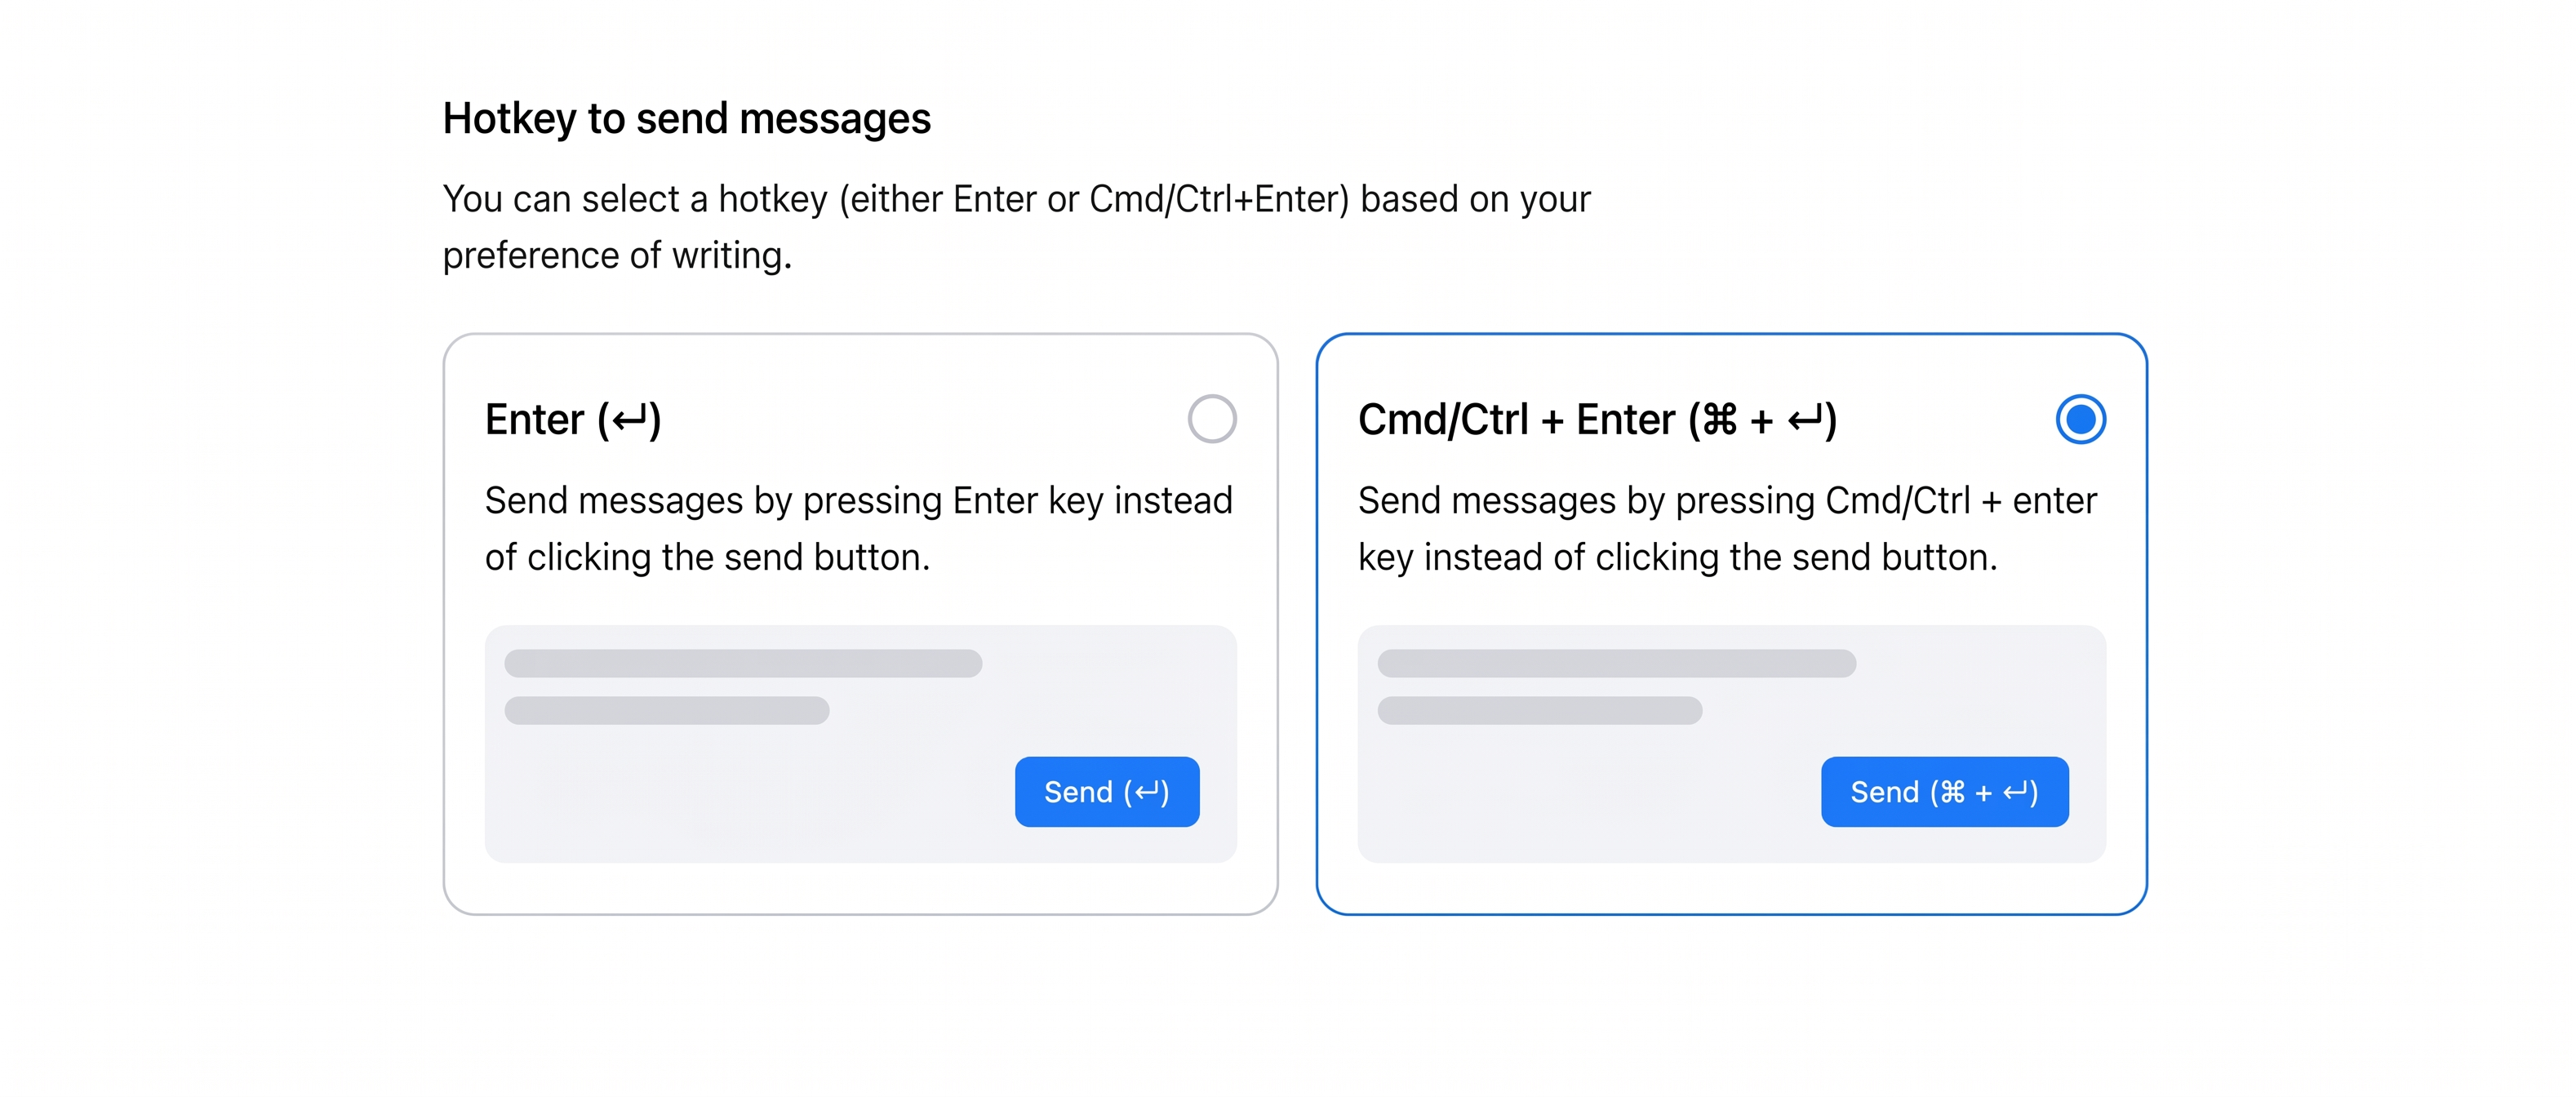
Hotkey to send messages
Choose how you send a reply by clicking the card you prefer:
- Enter (↵) — pressing Enter sends the message; Shift+Enter inserts a new line.
- Cmd/Ctrl + Enter (⌘ + ↵) — pressing Enter inserts a new line; Cmd+Enter / Ctrl+Enter sends the message.
Reset your password
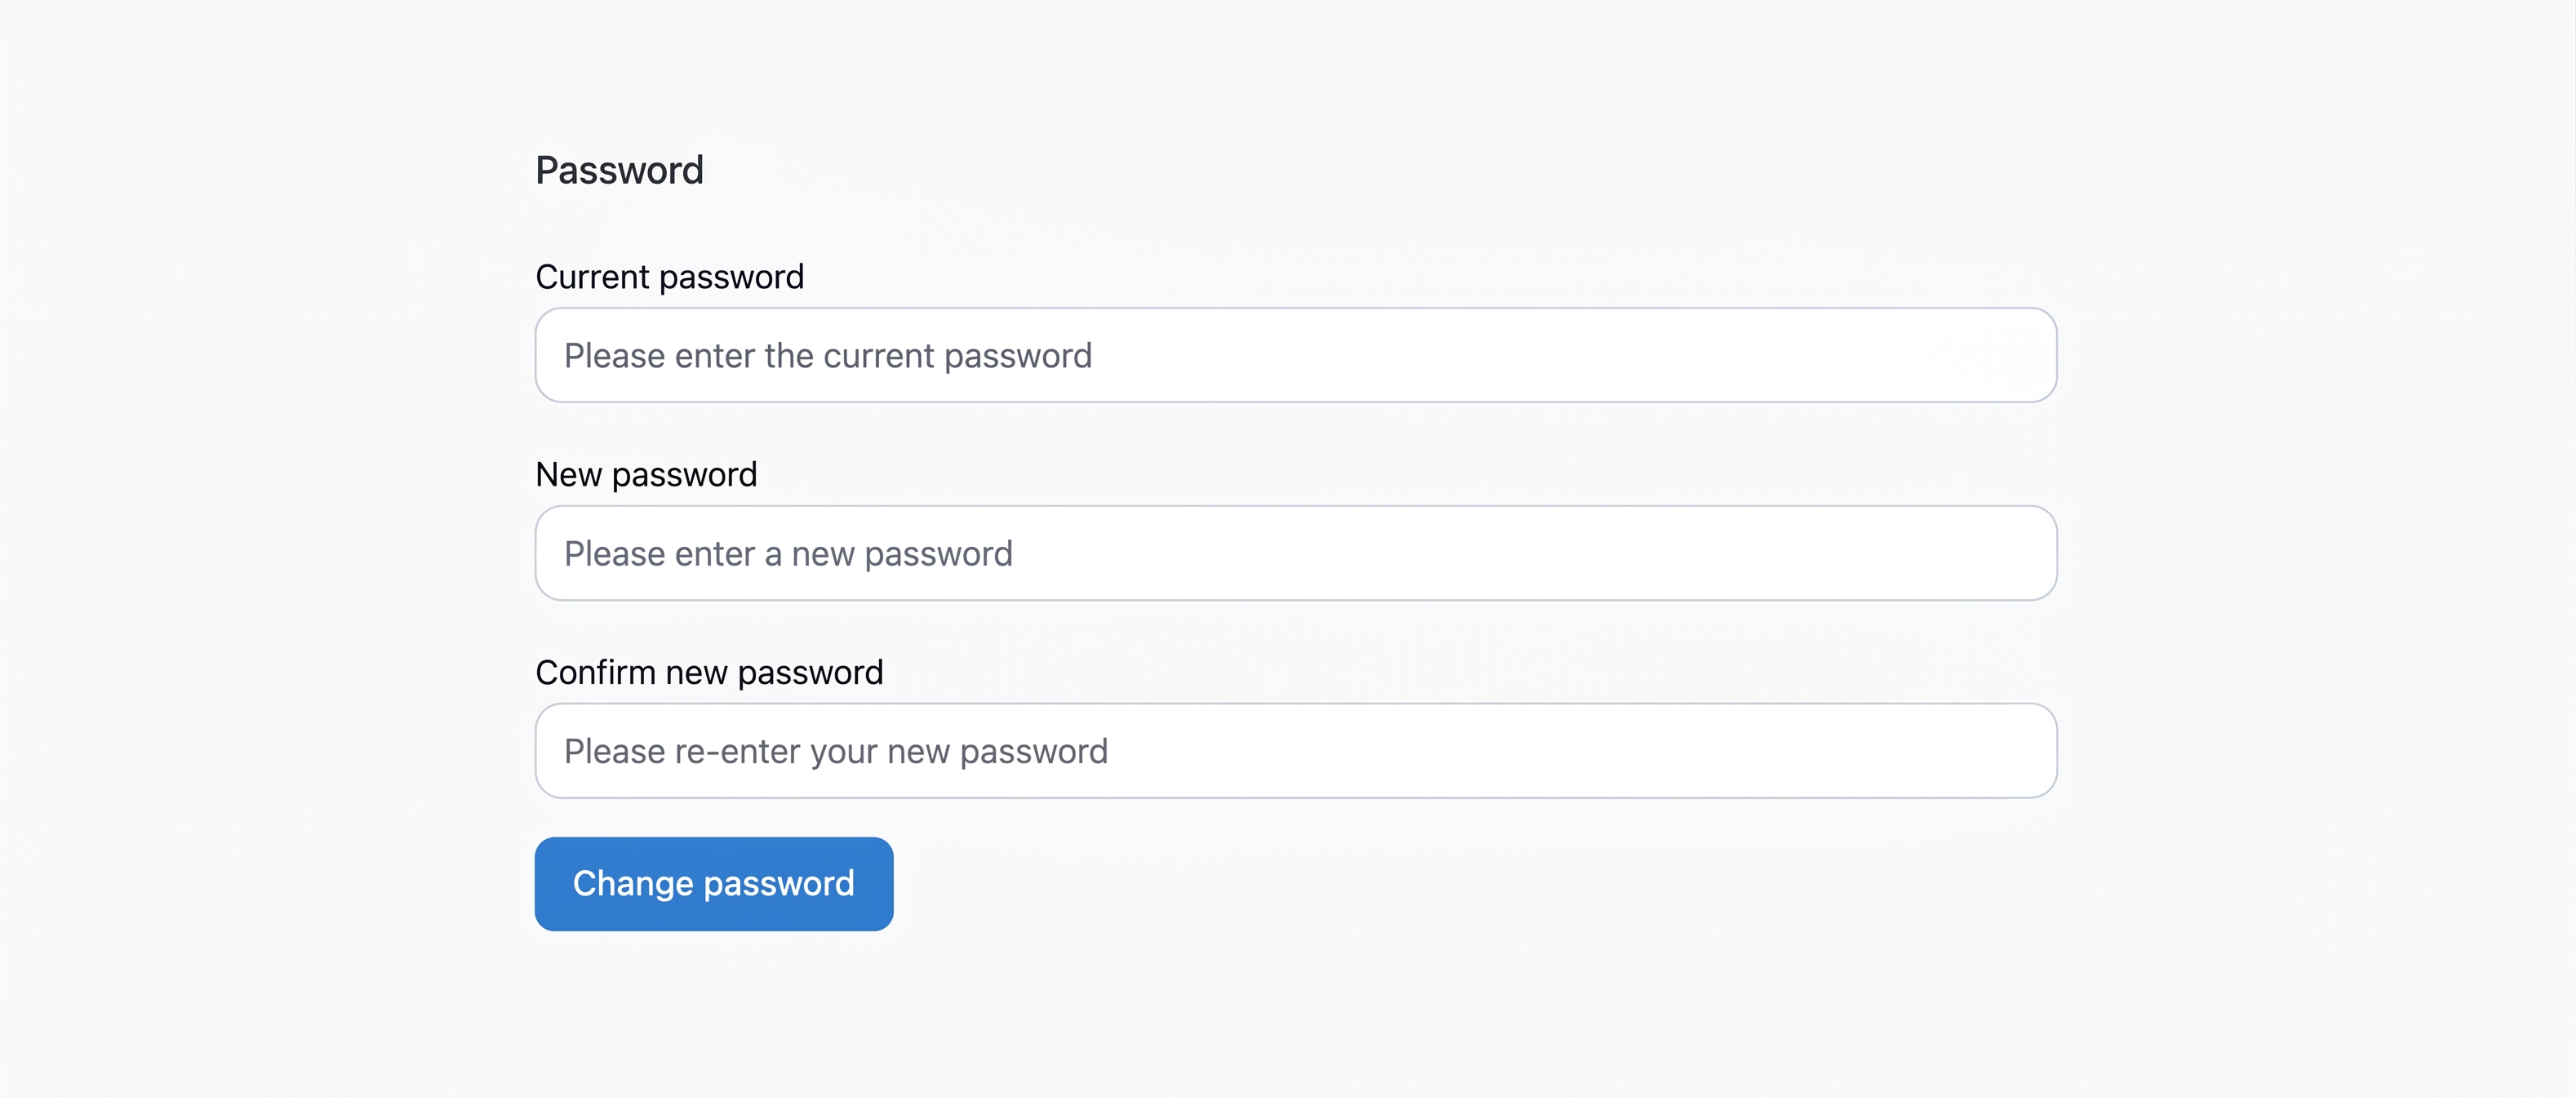
Click Change password to expand a form with three fields: Current password, New password, and Confirm new password.
For security, you must provide your existing password to set a new one. If you've forgotten it, log out and use the password-reset flow instead.
Password requirements
At least 6 characters, including at least one uppercase letter (A–Z), one number (0–9), and one special character. Updating your password signs you out of all your other devices, so be ready to log back in everywhere.
This section is hidden on deployments that authenticate via SAML / SSO, where authentication is handled centrally.
Next
Continue to Notifications.