Facebook Messenger
Connect a Facebook Page to ChannelX so that every message your Page receives arrives as a conversation in your shared inbox. Your agents can then read and reply without ever leaving ChannelX.
Create a Messenger inbox
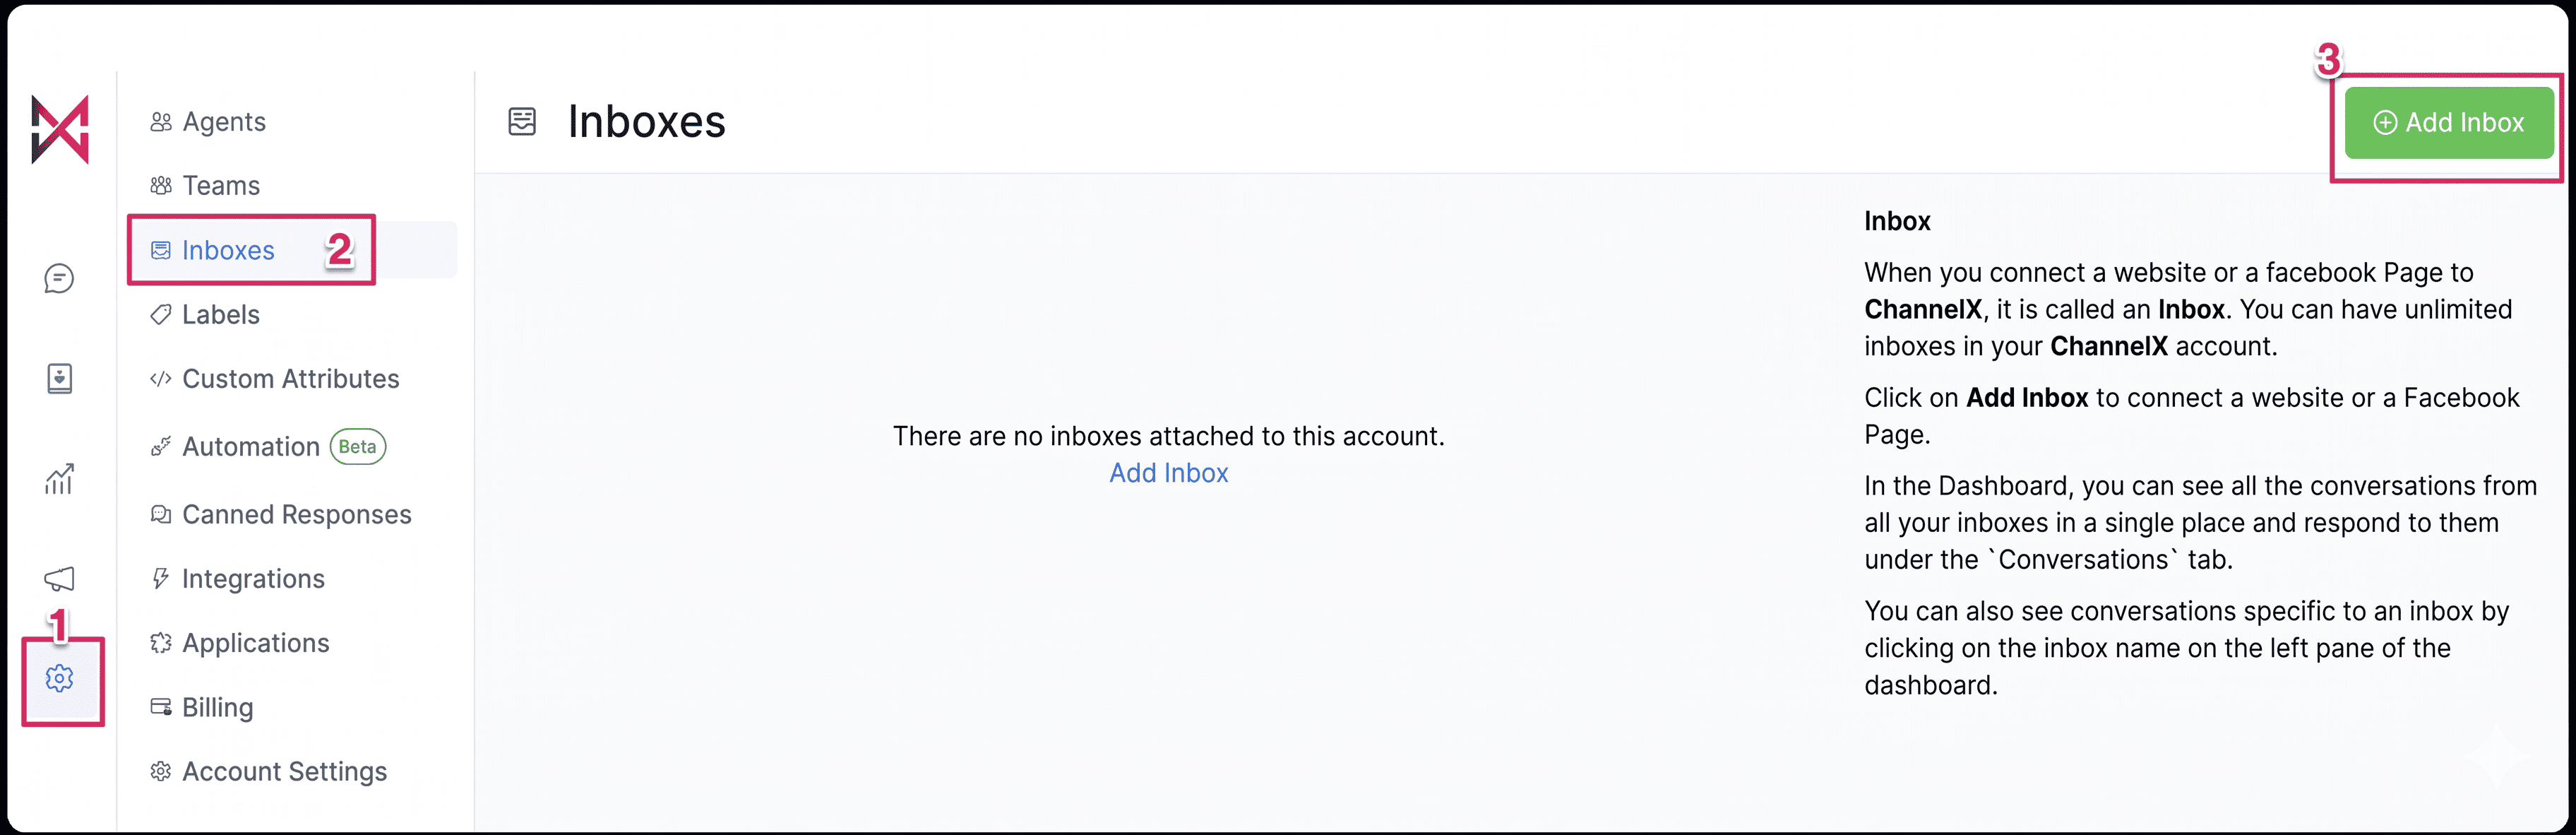
- Go to Settings → Inboxes → Add Inbox.
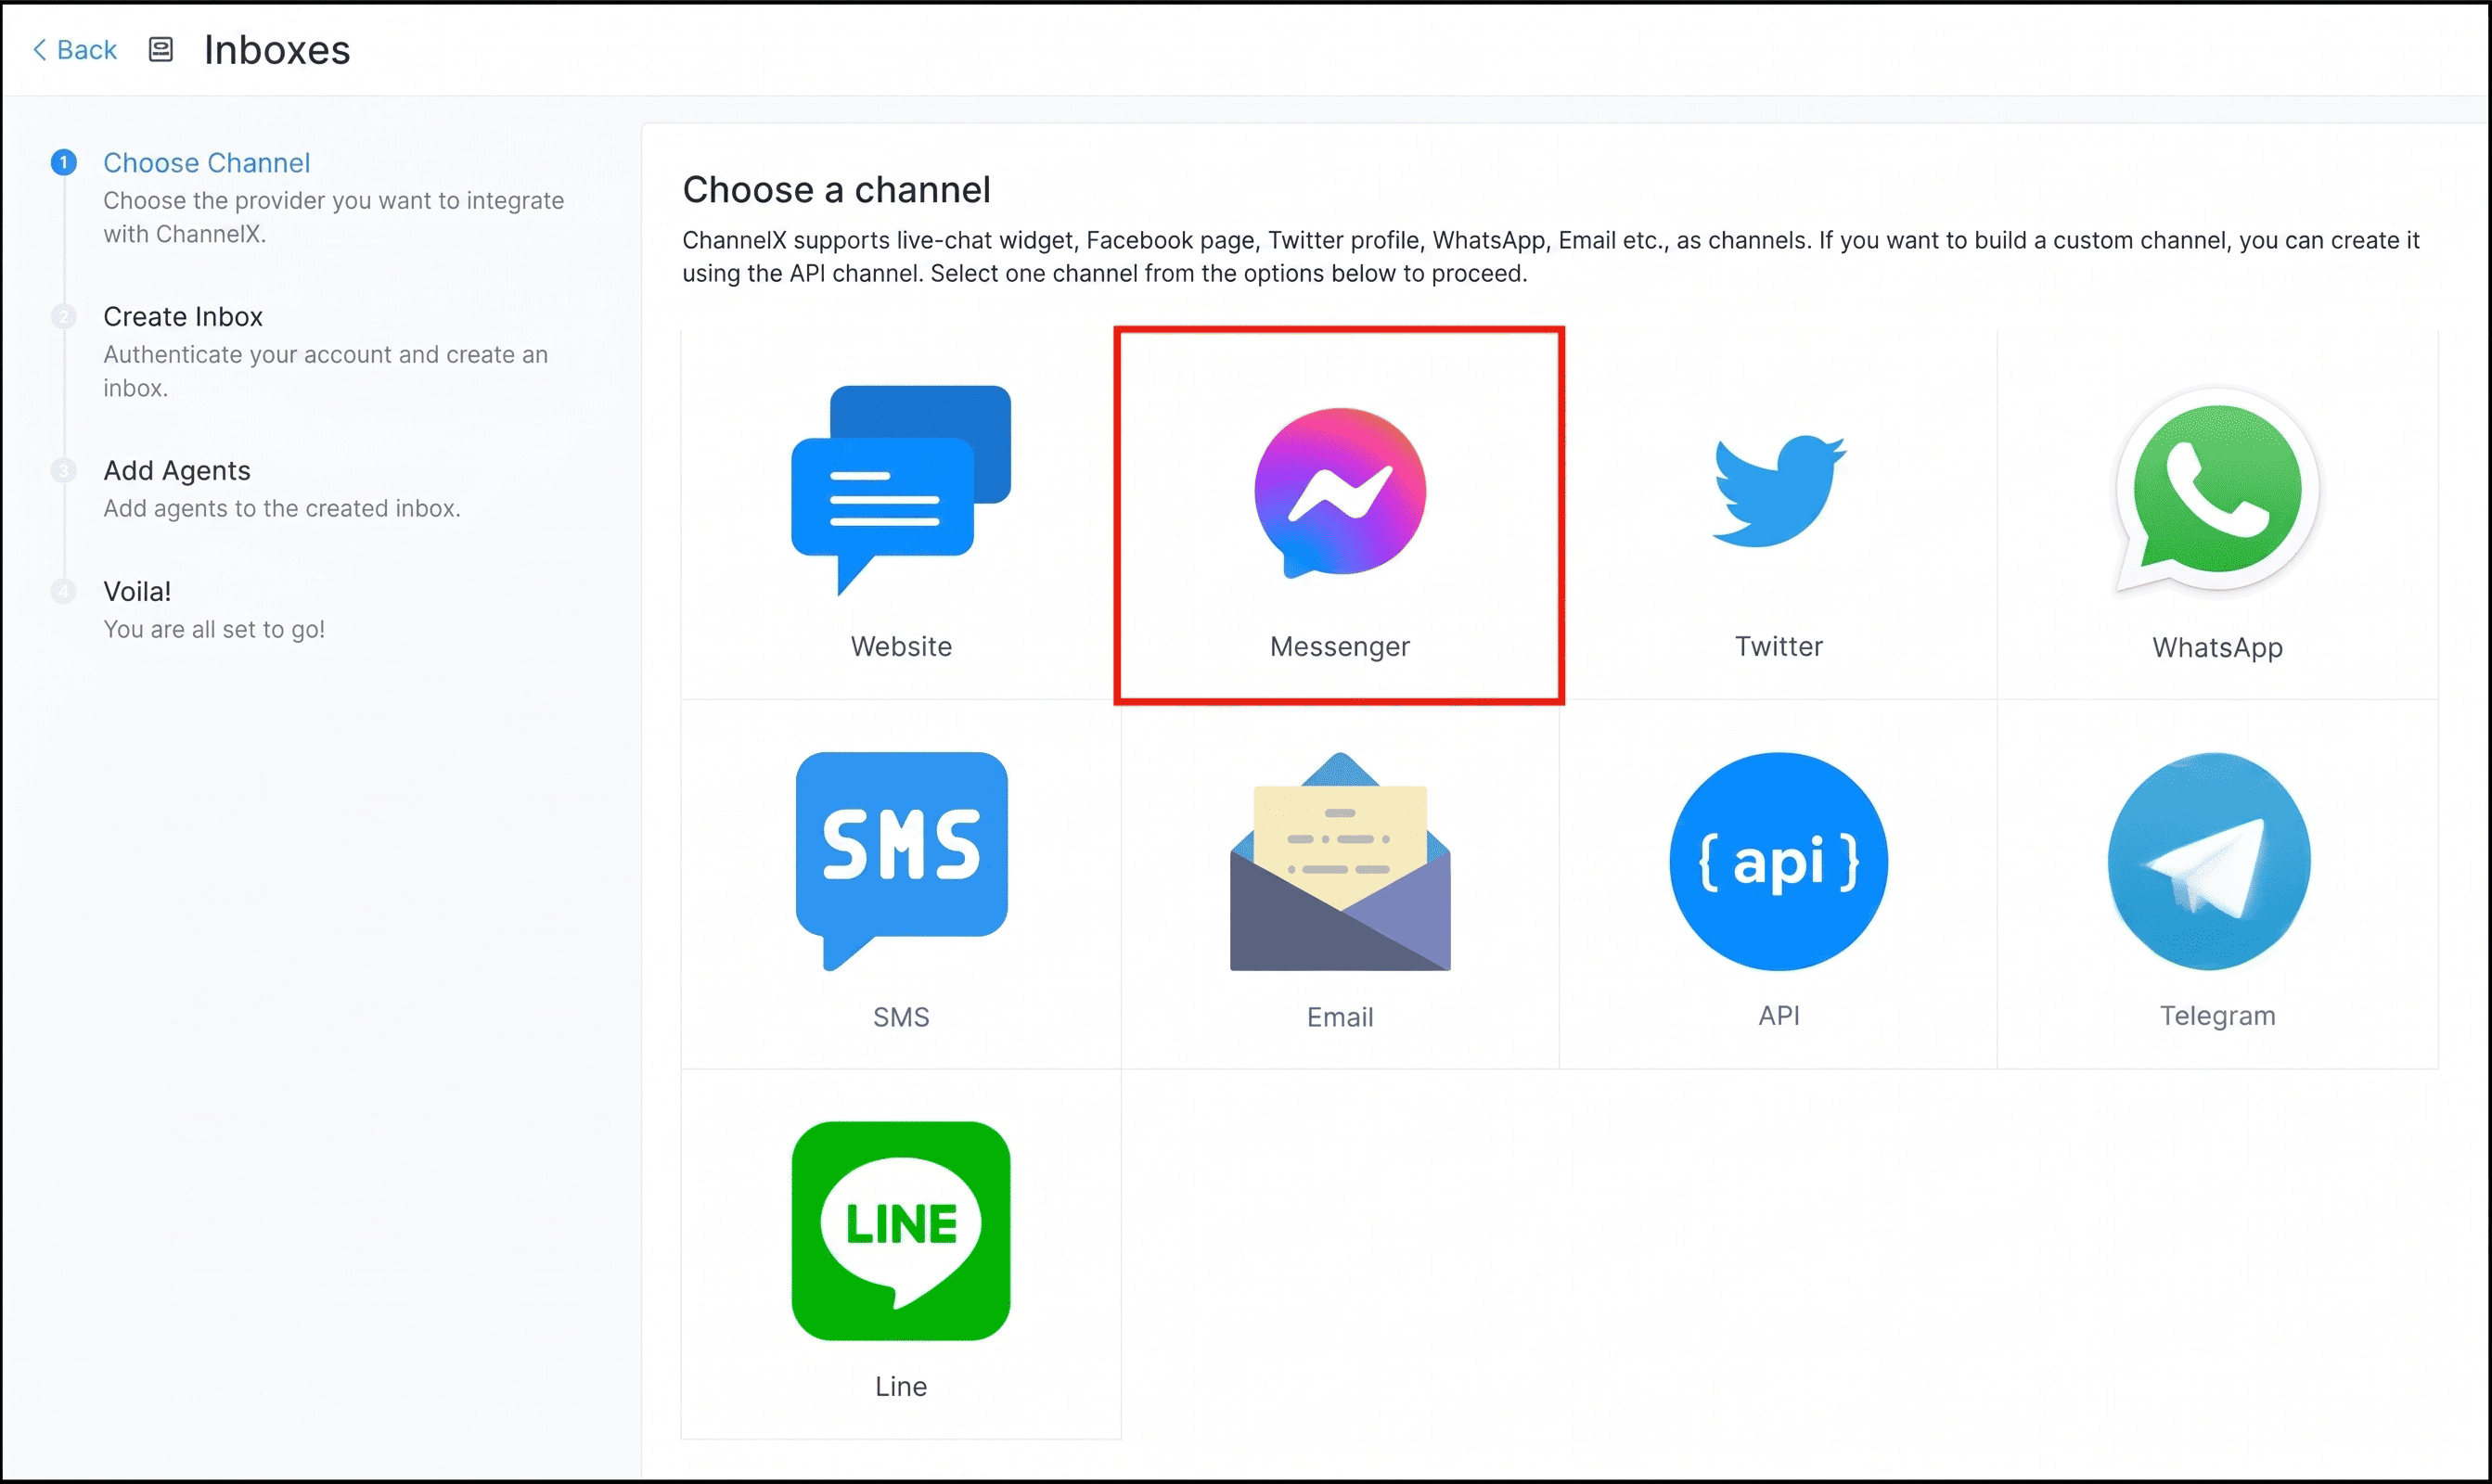
- Click the Messenger icon.
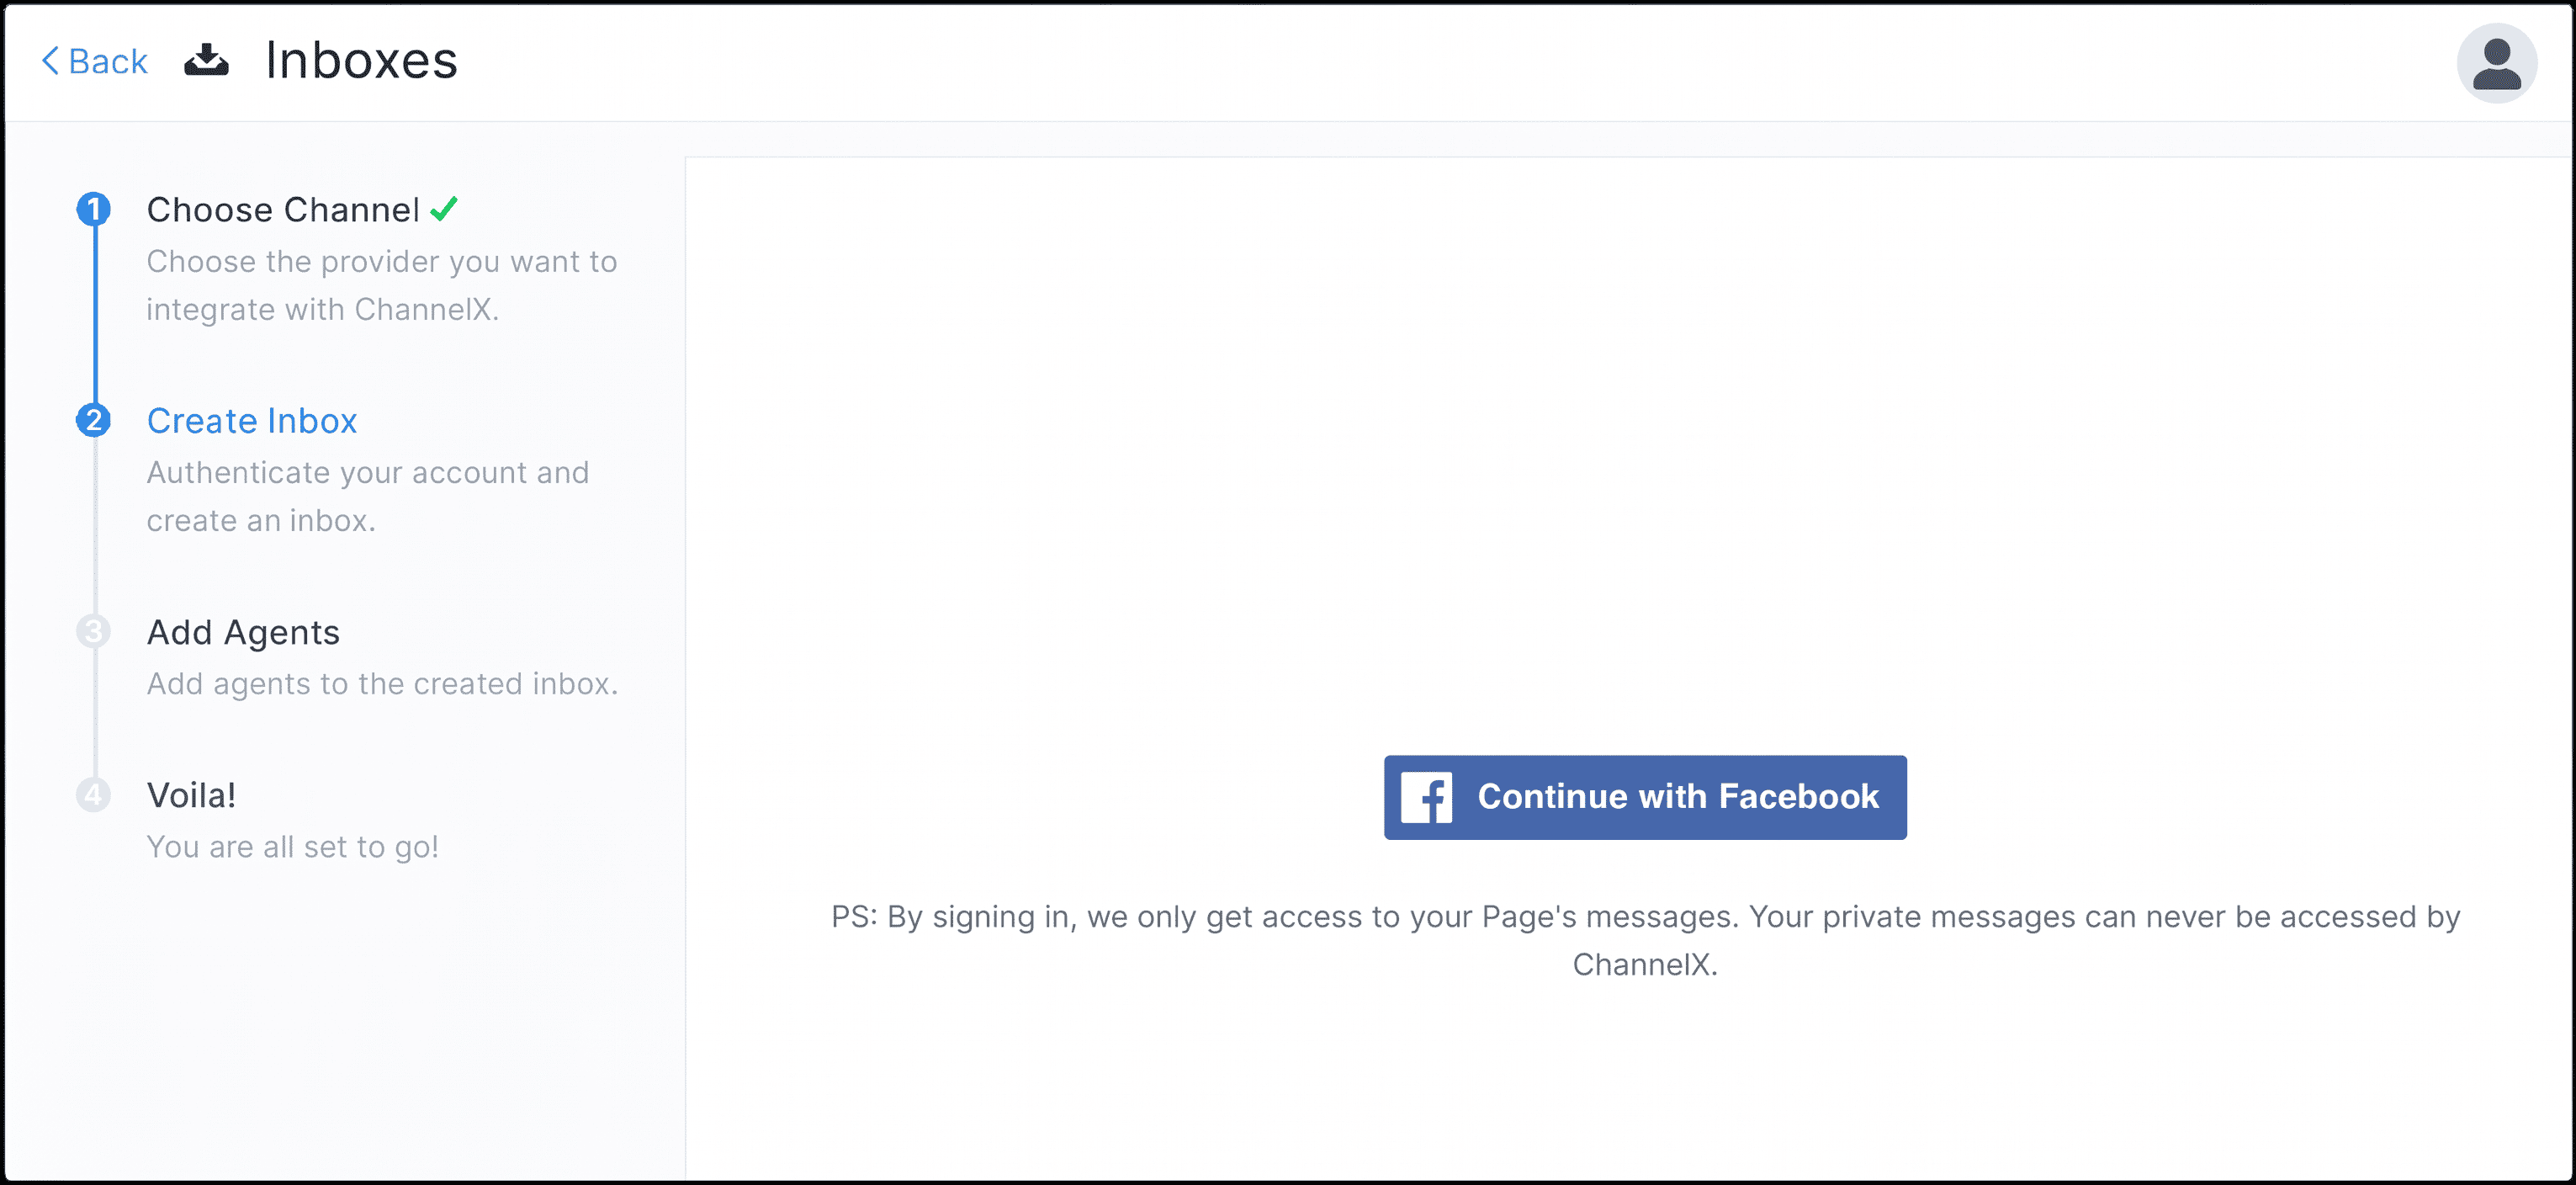
- Click the Facebook login button. A new window opens for you to sign in.
- Authenticate with Facebook and select the Page you want to connect.
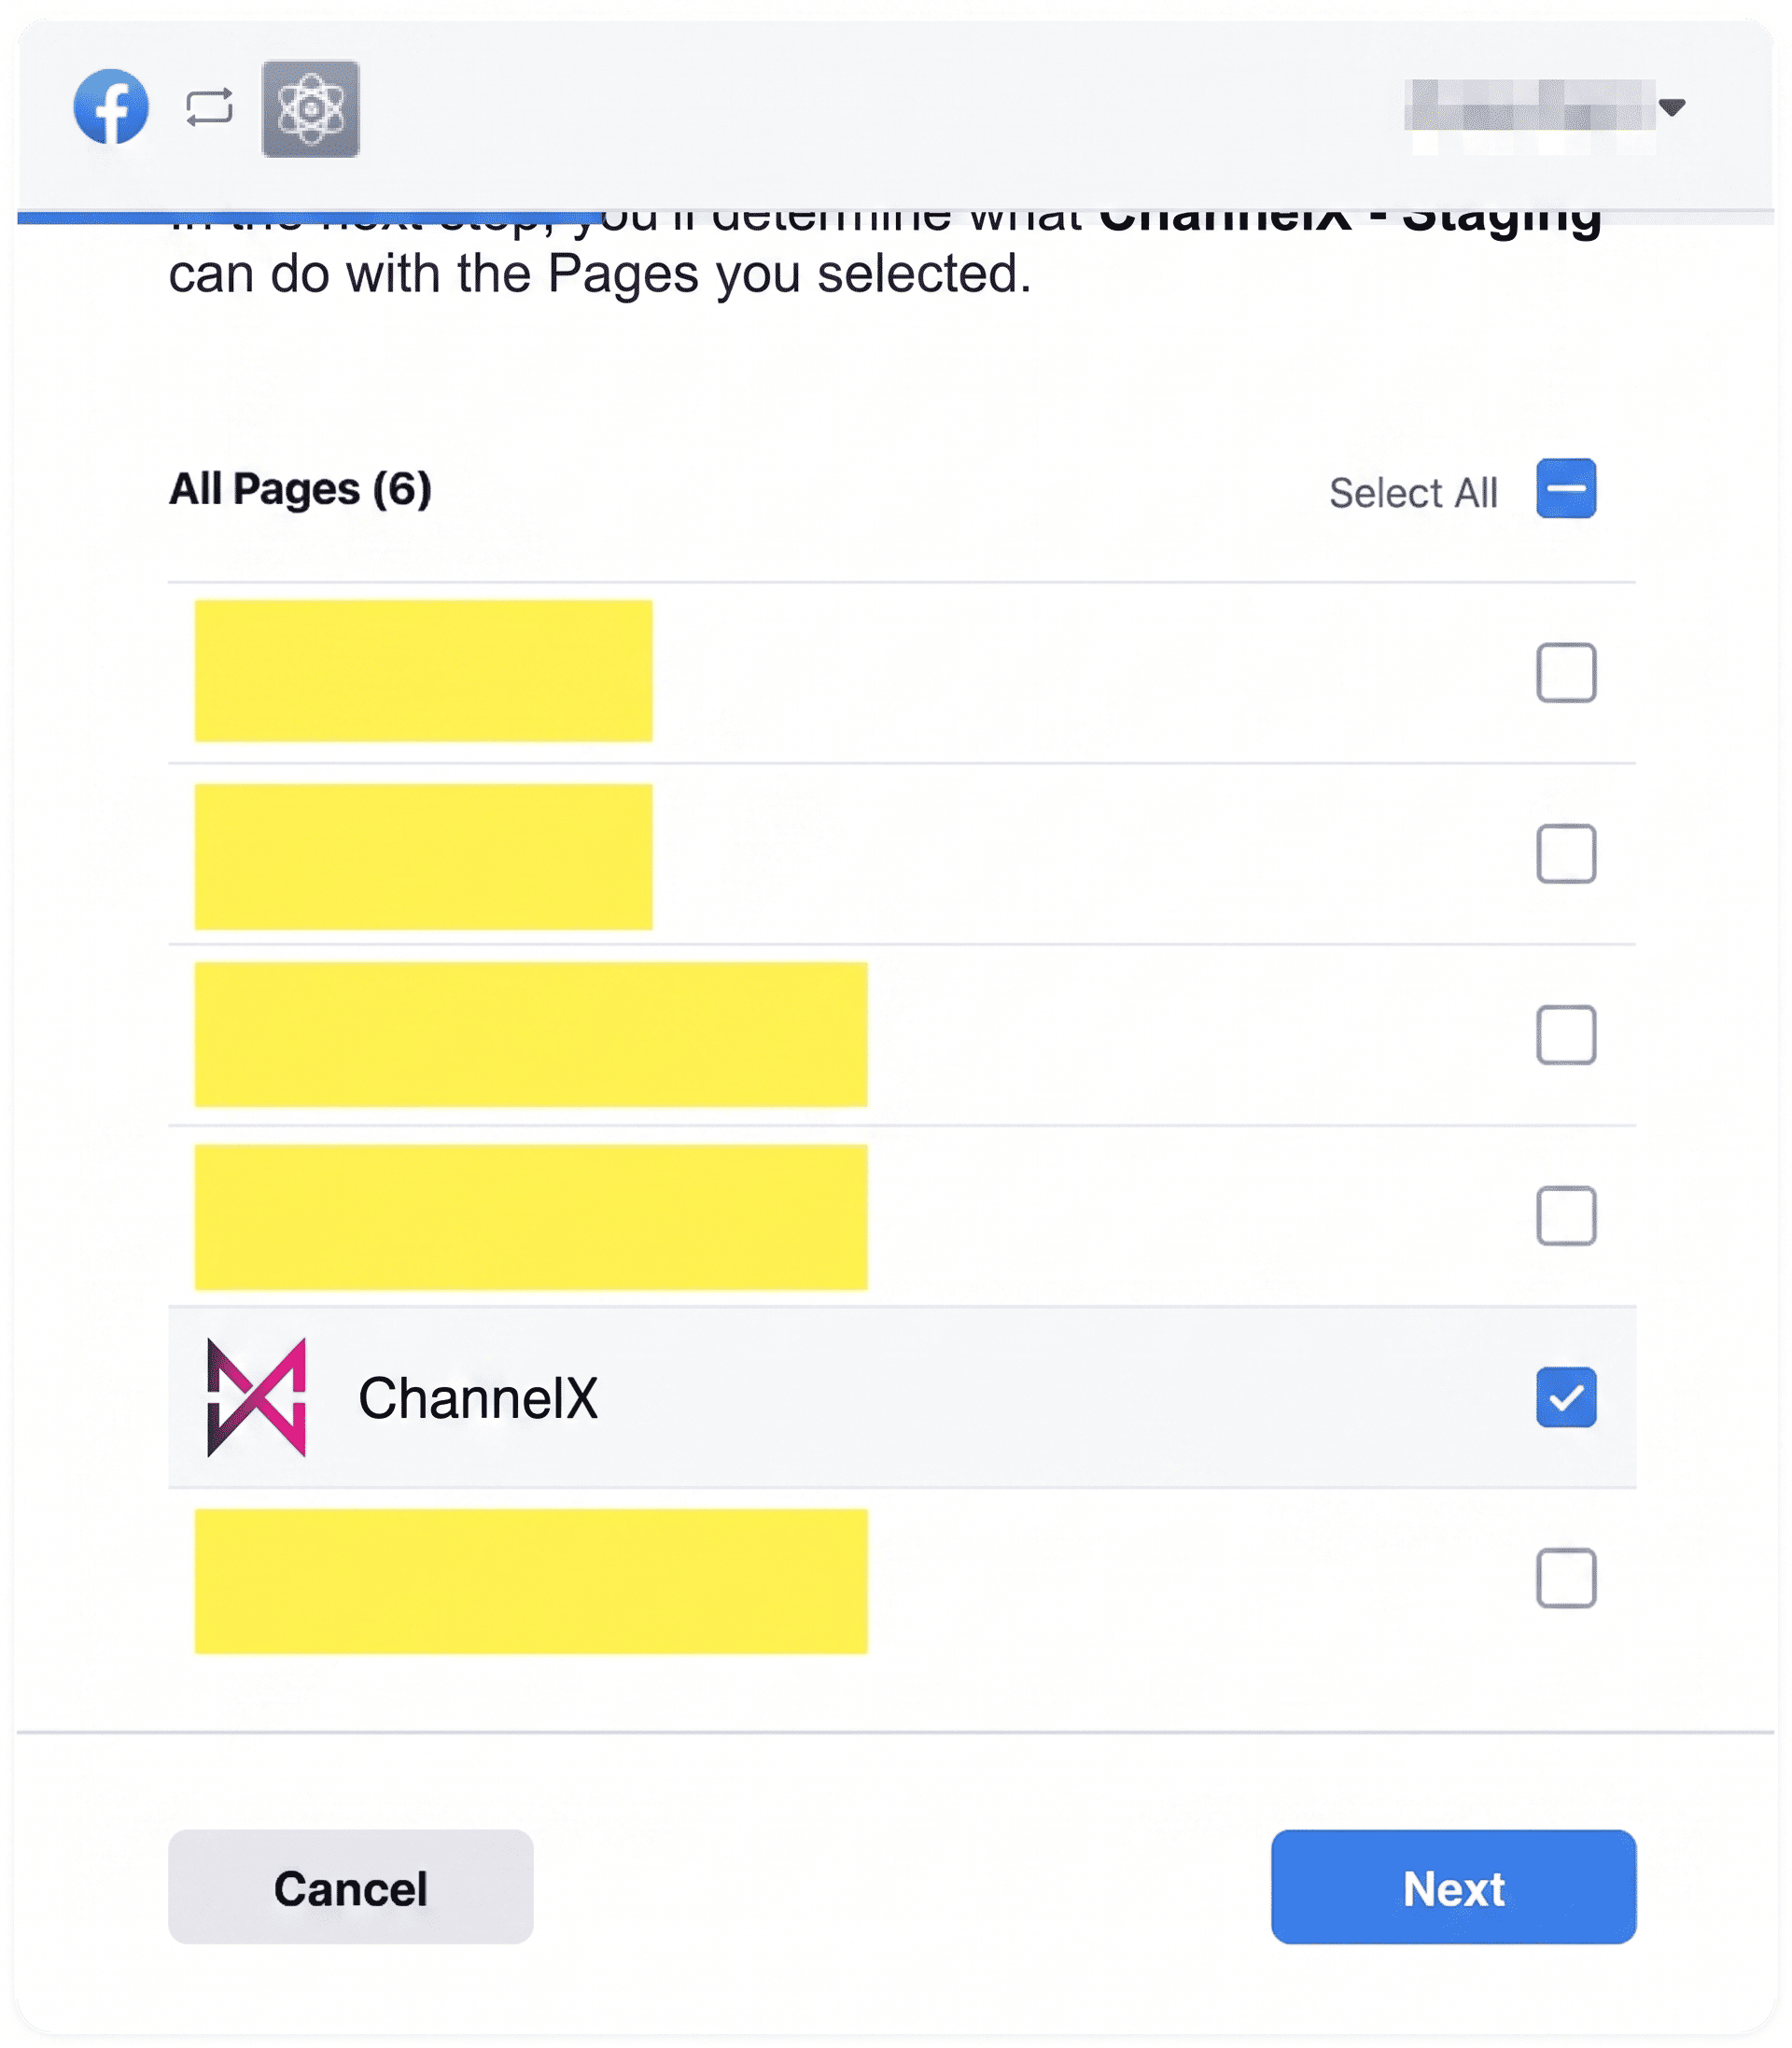
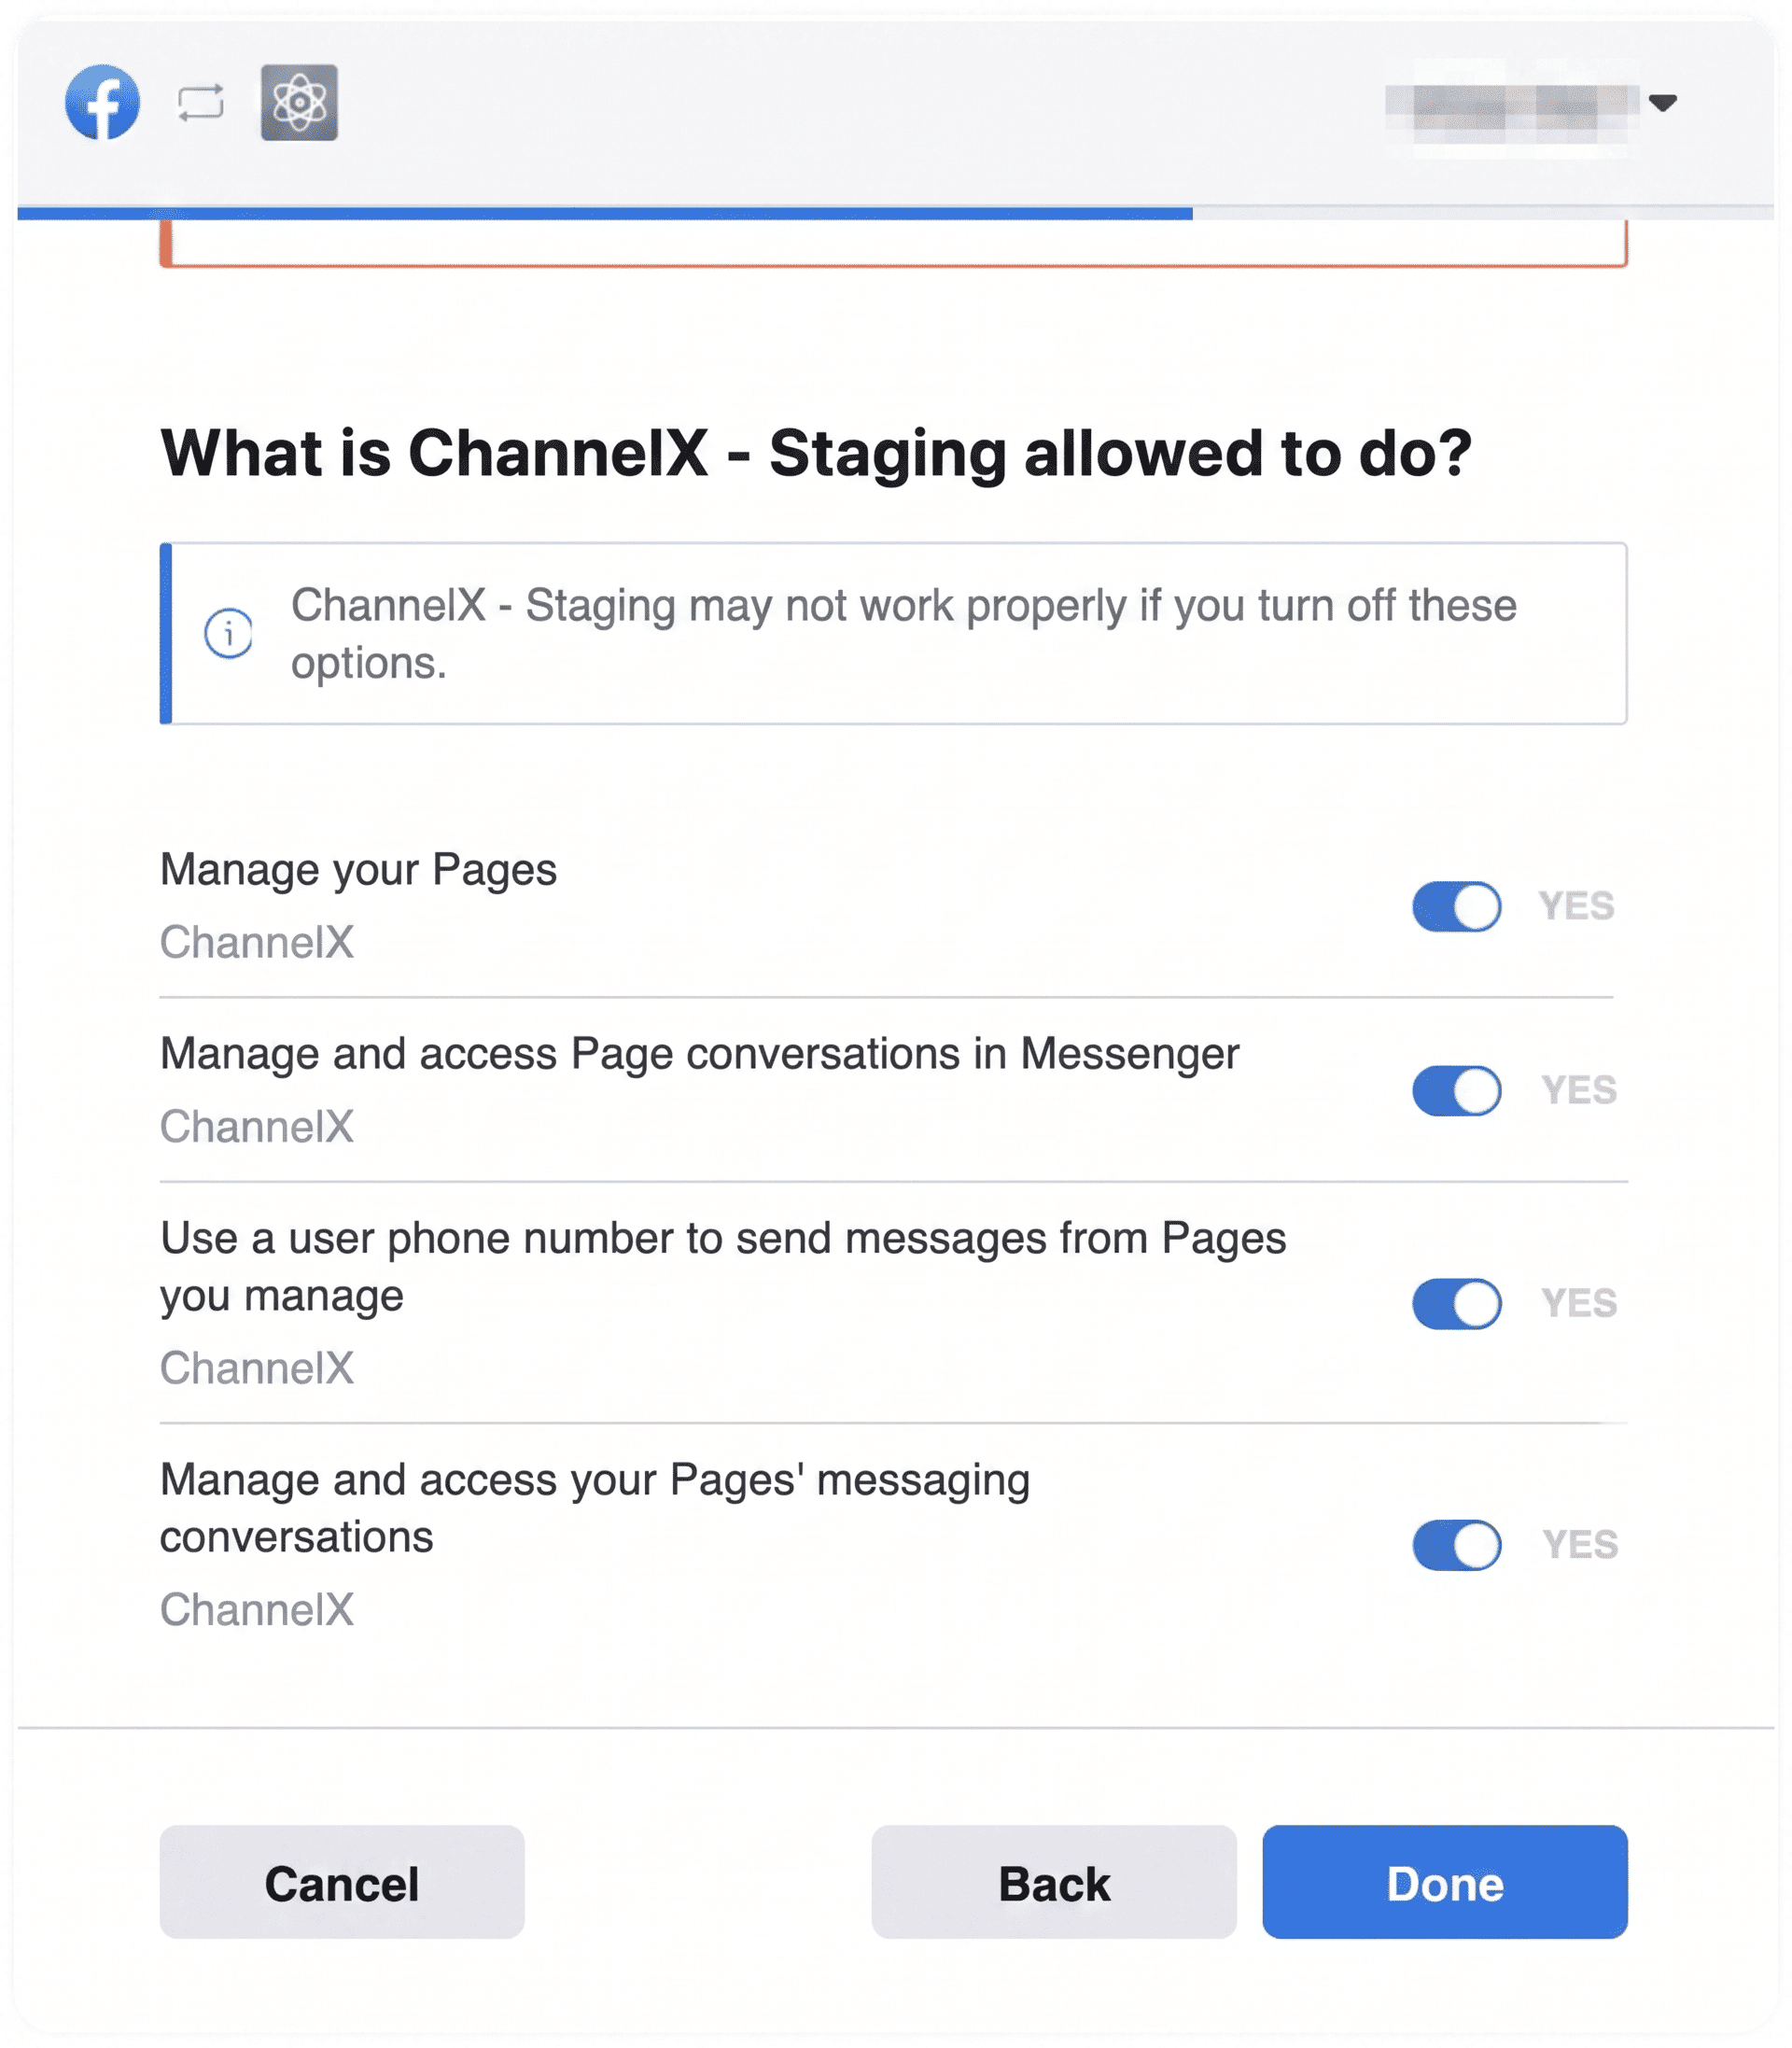
Grant all of the permissions shown — ChannelX needs them to read messages and reply on your behalf.
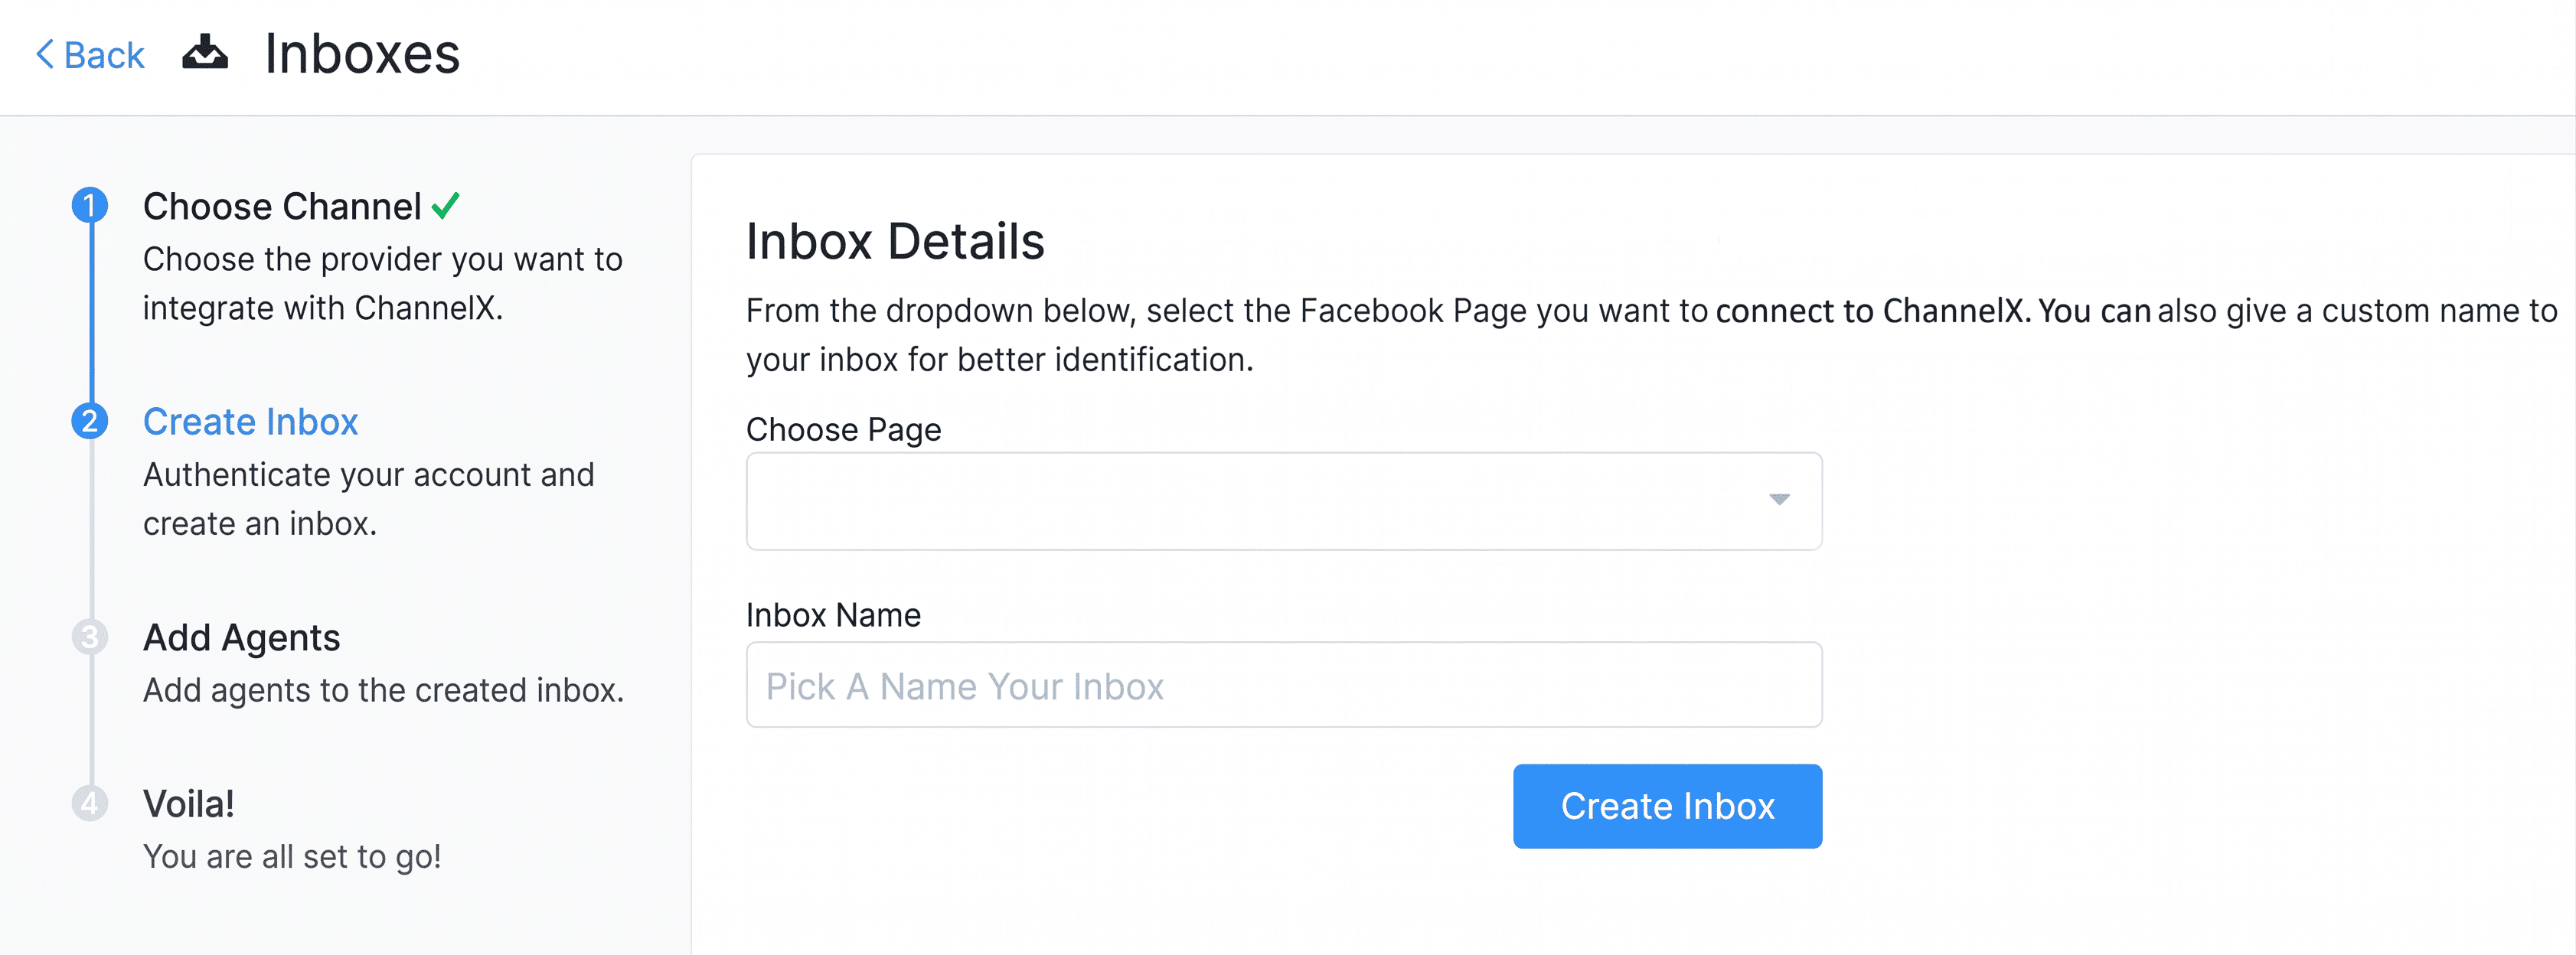
 5. Choose your Facebook Page from the dropdown that appears in ChannelX.
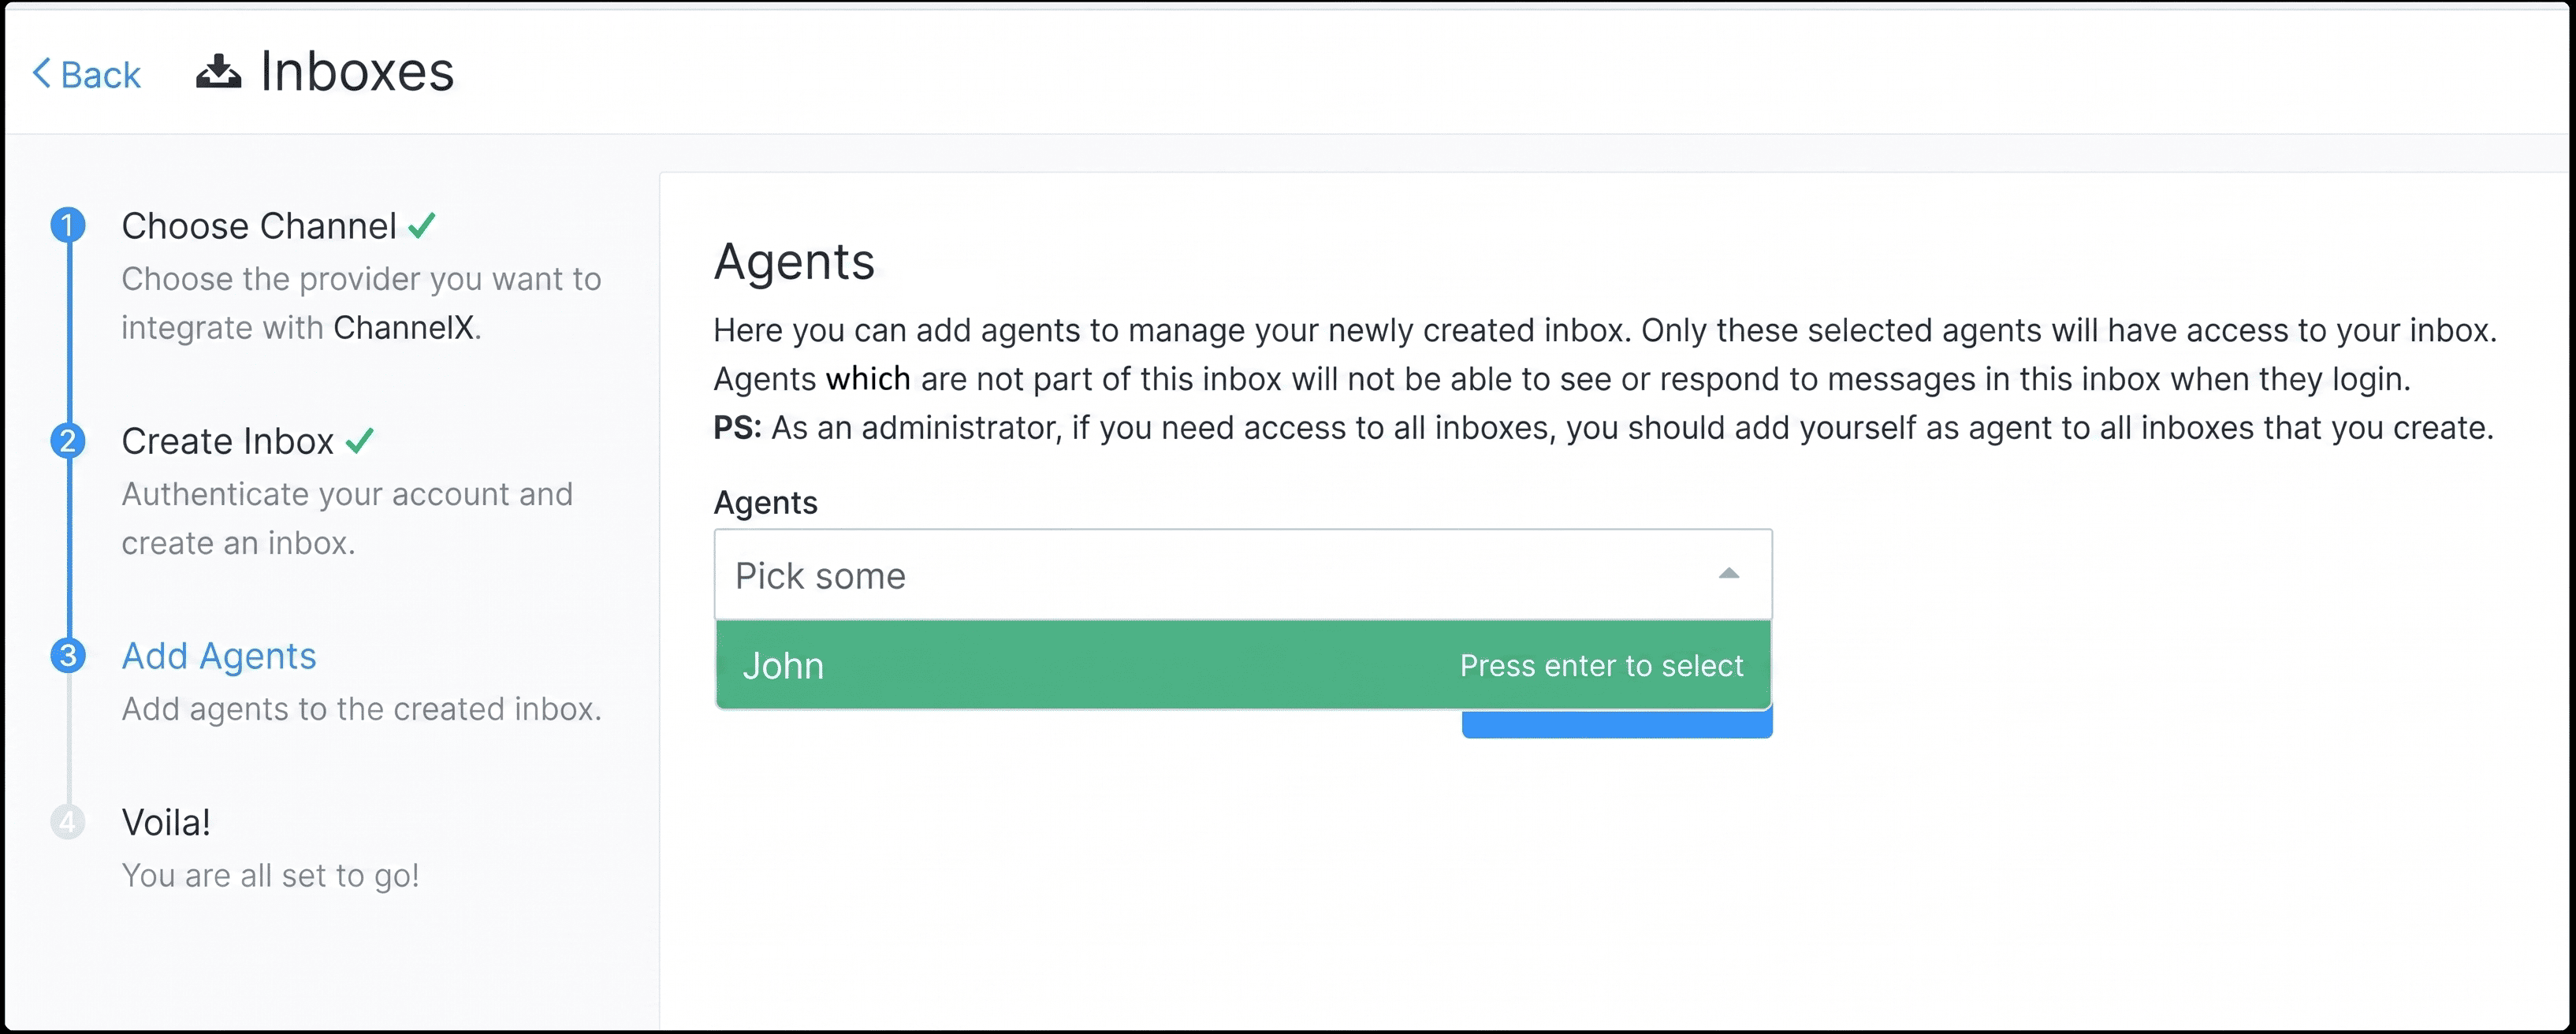
 6. Add the agents who should handle this inbox.
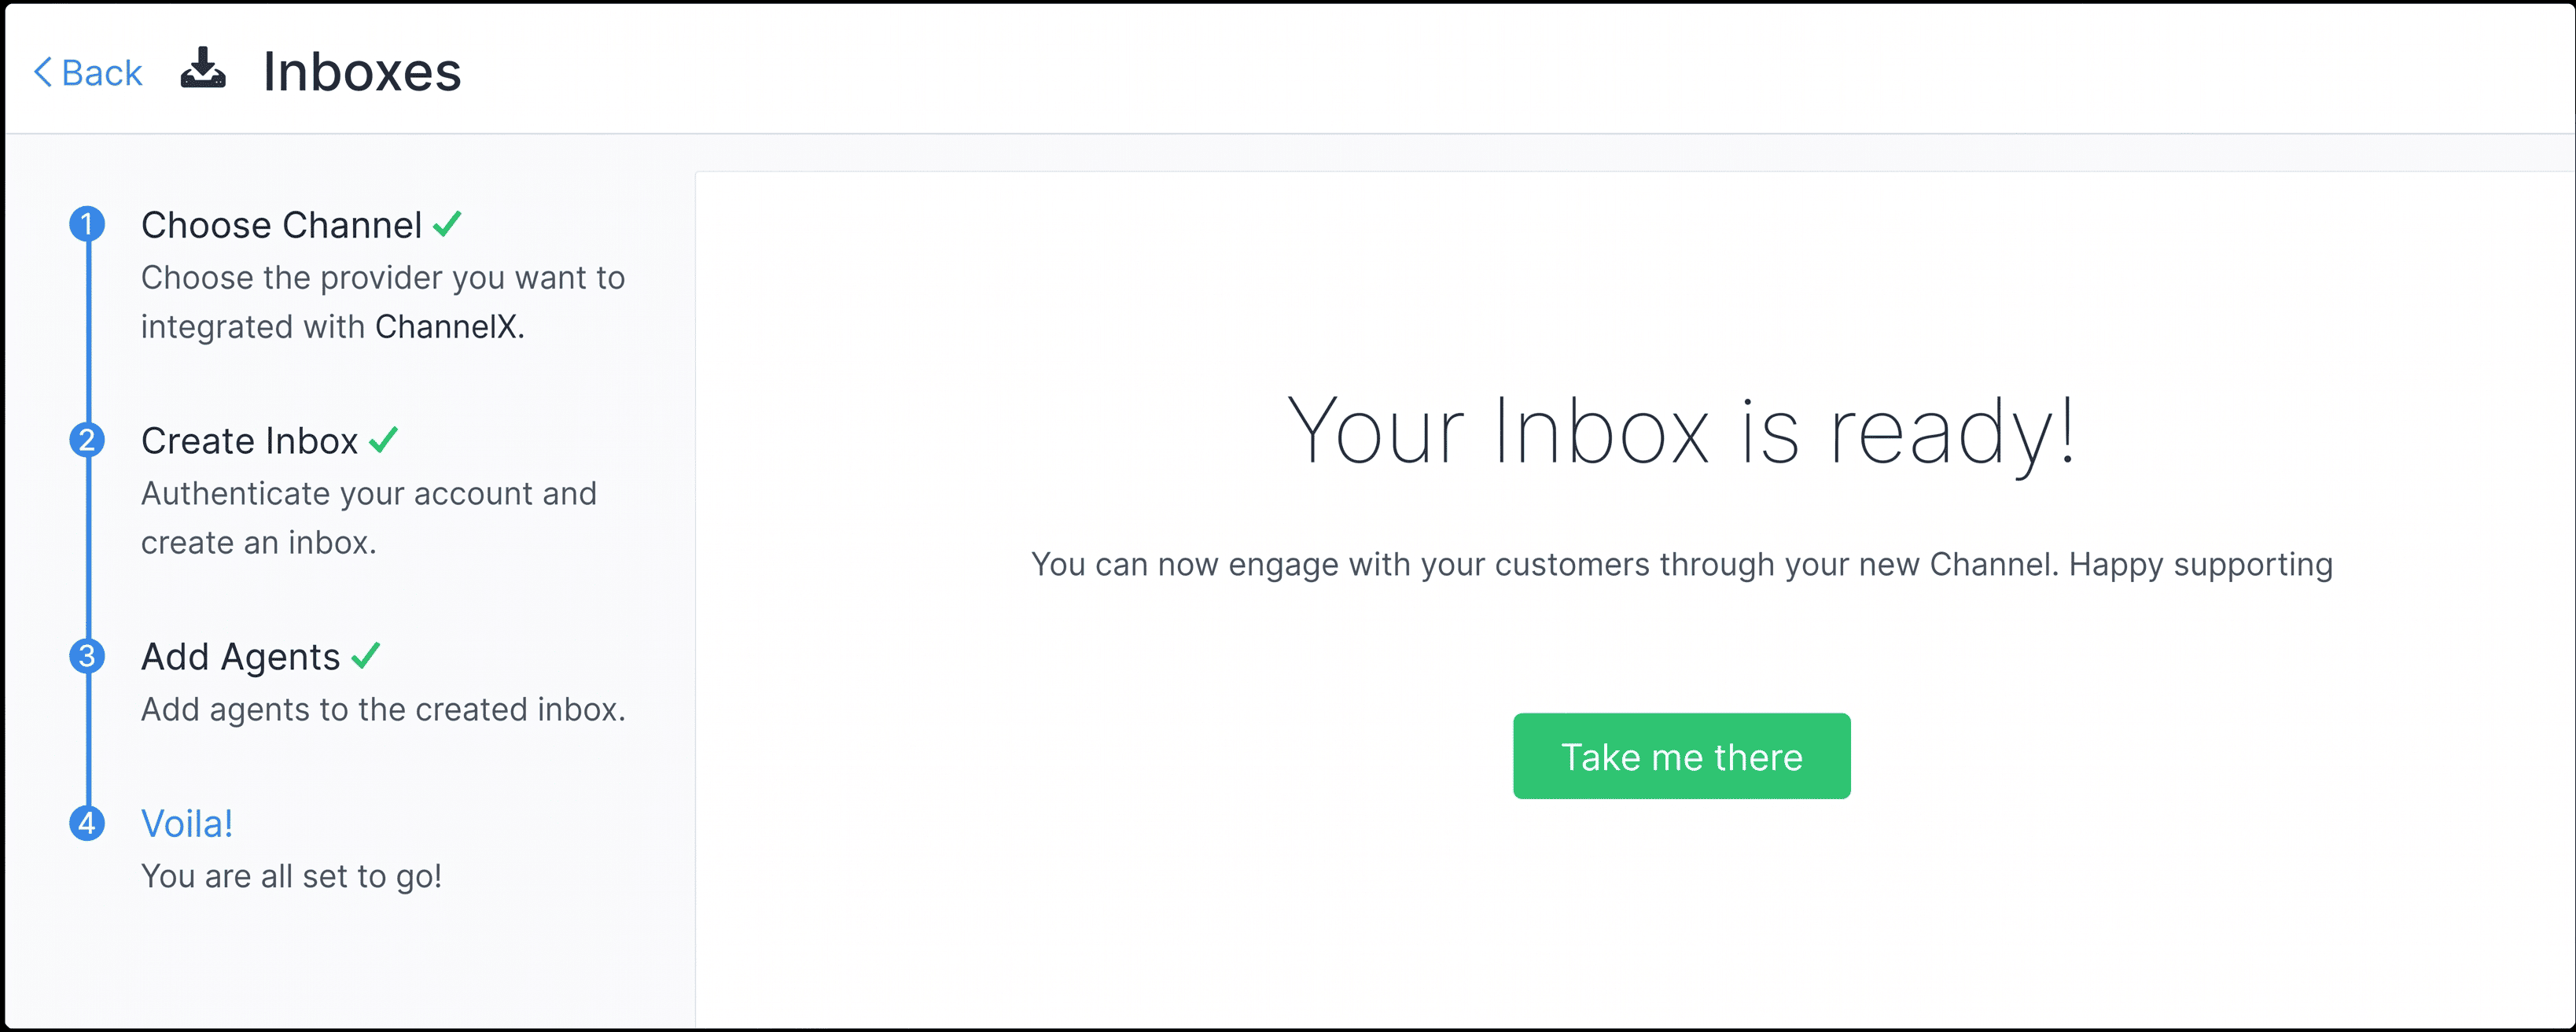
That's it. From now on, any message sent to your Page shows up in ChannelX where your team can respond.
Note
On a self-hosted deployment, your administrator must register a Facebook app for ChannelX before this flow will work. Confirm with your Localcom team that the Facebook channel is configured for your installation.
Inbox settings
Open Settings → Inboxes and click the gear icon on your Facebook inbox to adjust how it behaves.
Settings tab
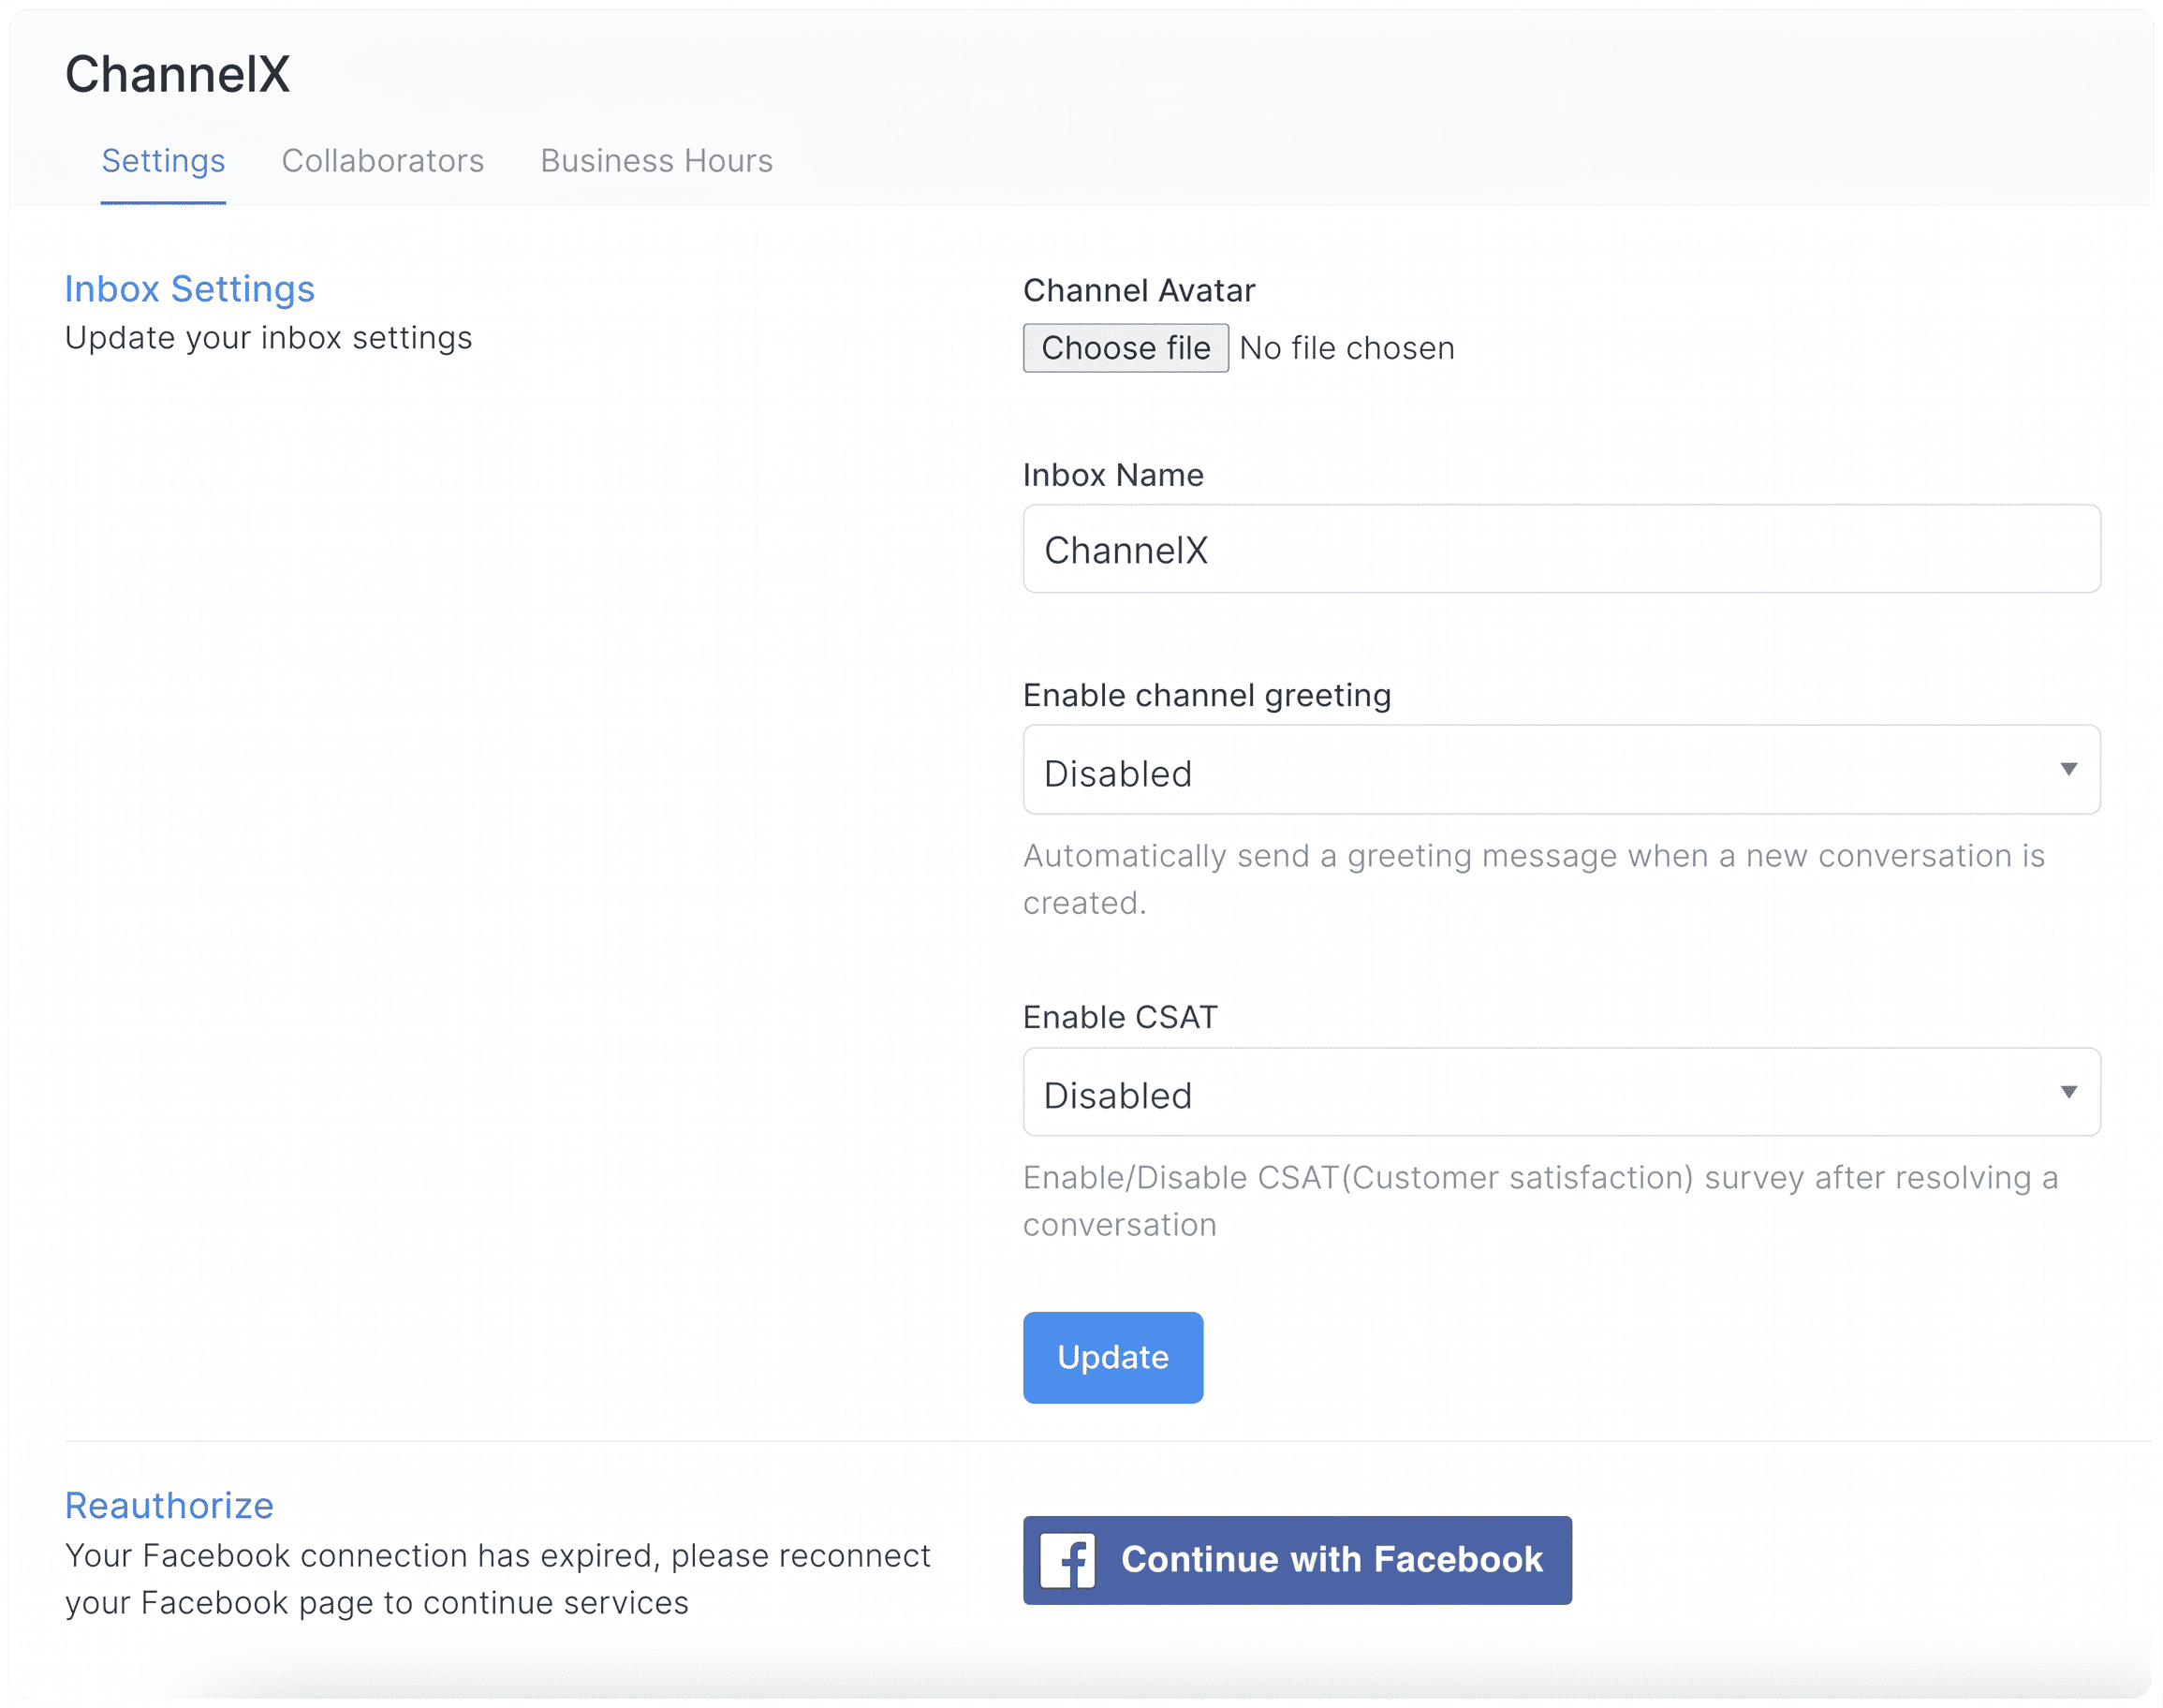
- Enable channel greeting — Sends an automatic greeting message at the start of new conversations.
- Enable CSAT — Launches a Customer Satisfaction survey whenever a conversation is resolved. Results appear in the Reports section.
- Reauthorize — Use this whenever you need to reconnect and reauthorize the Facebook Page (for example, after permissions expire).
Collaborators tab
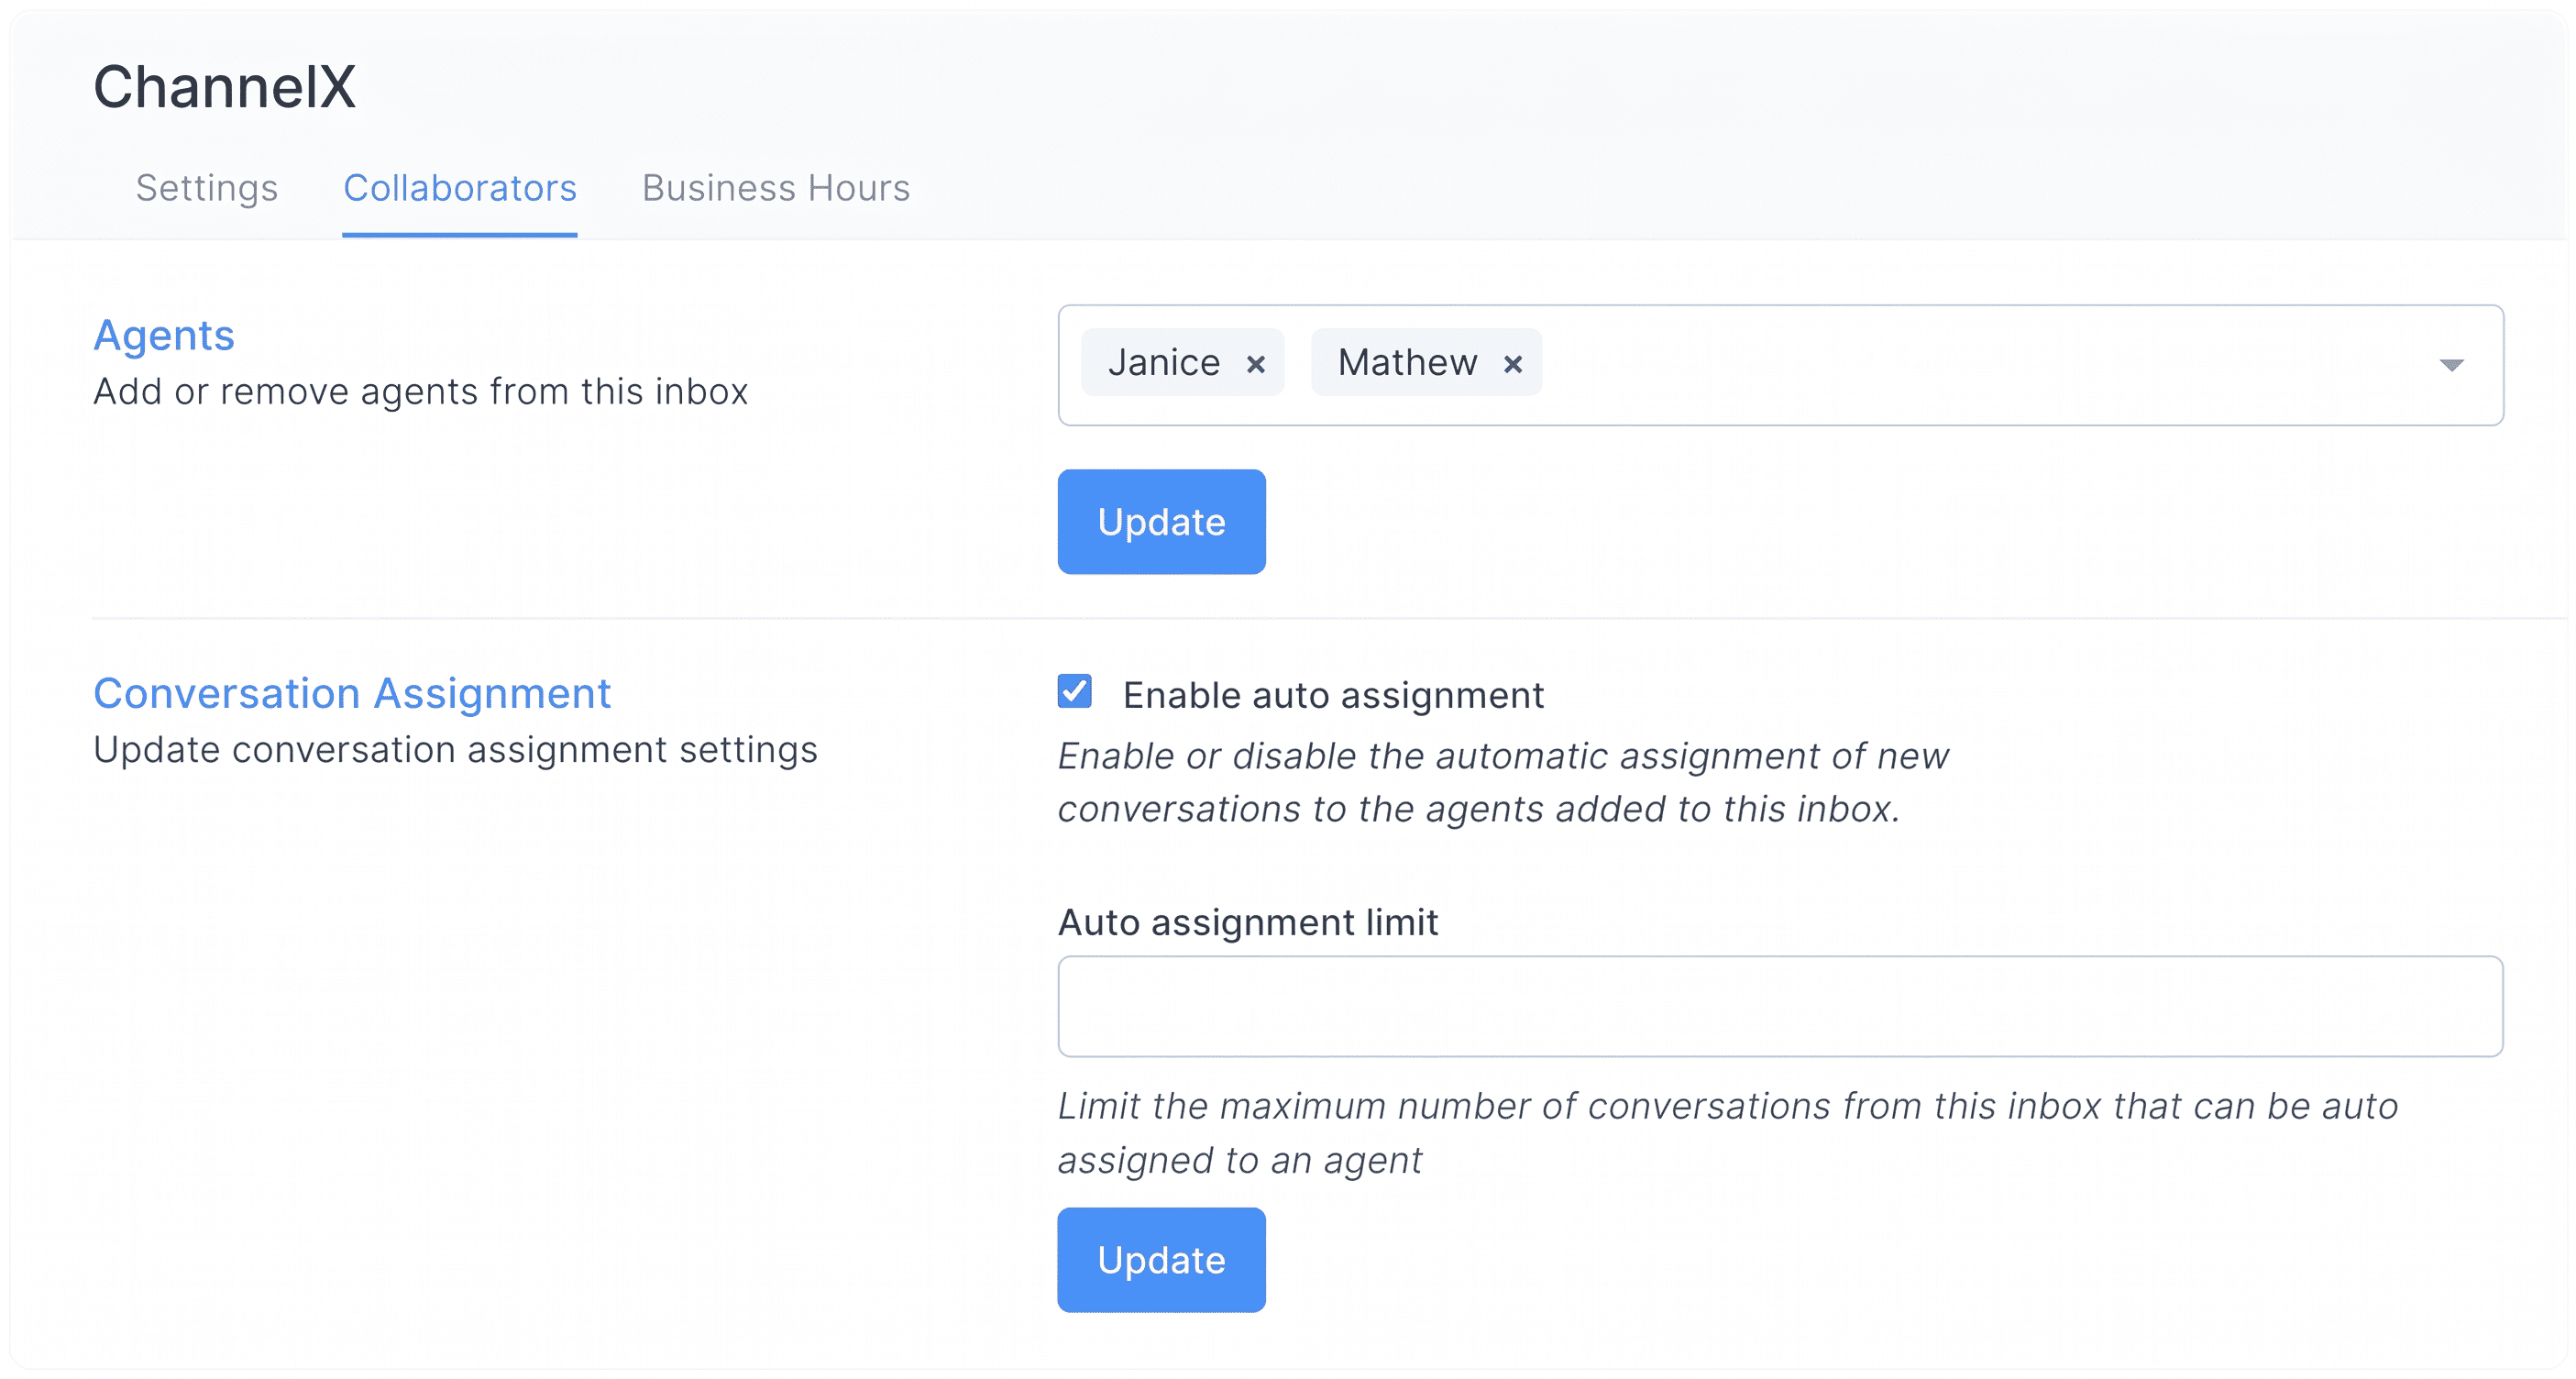
Add or remove the agents assigned to this inbox, and turn automatic assignment of new conversations on or off. Click Update to save.
Business Hours tab
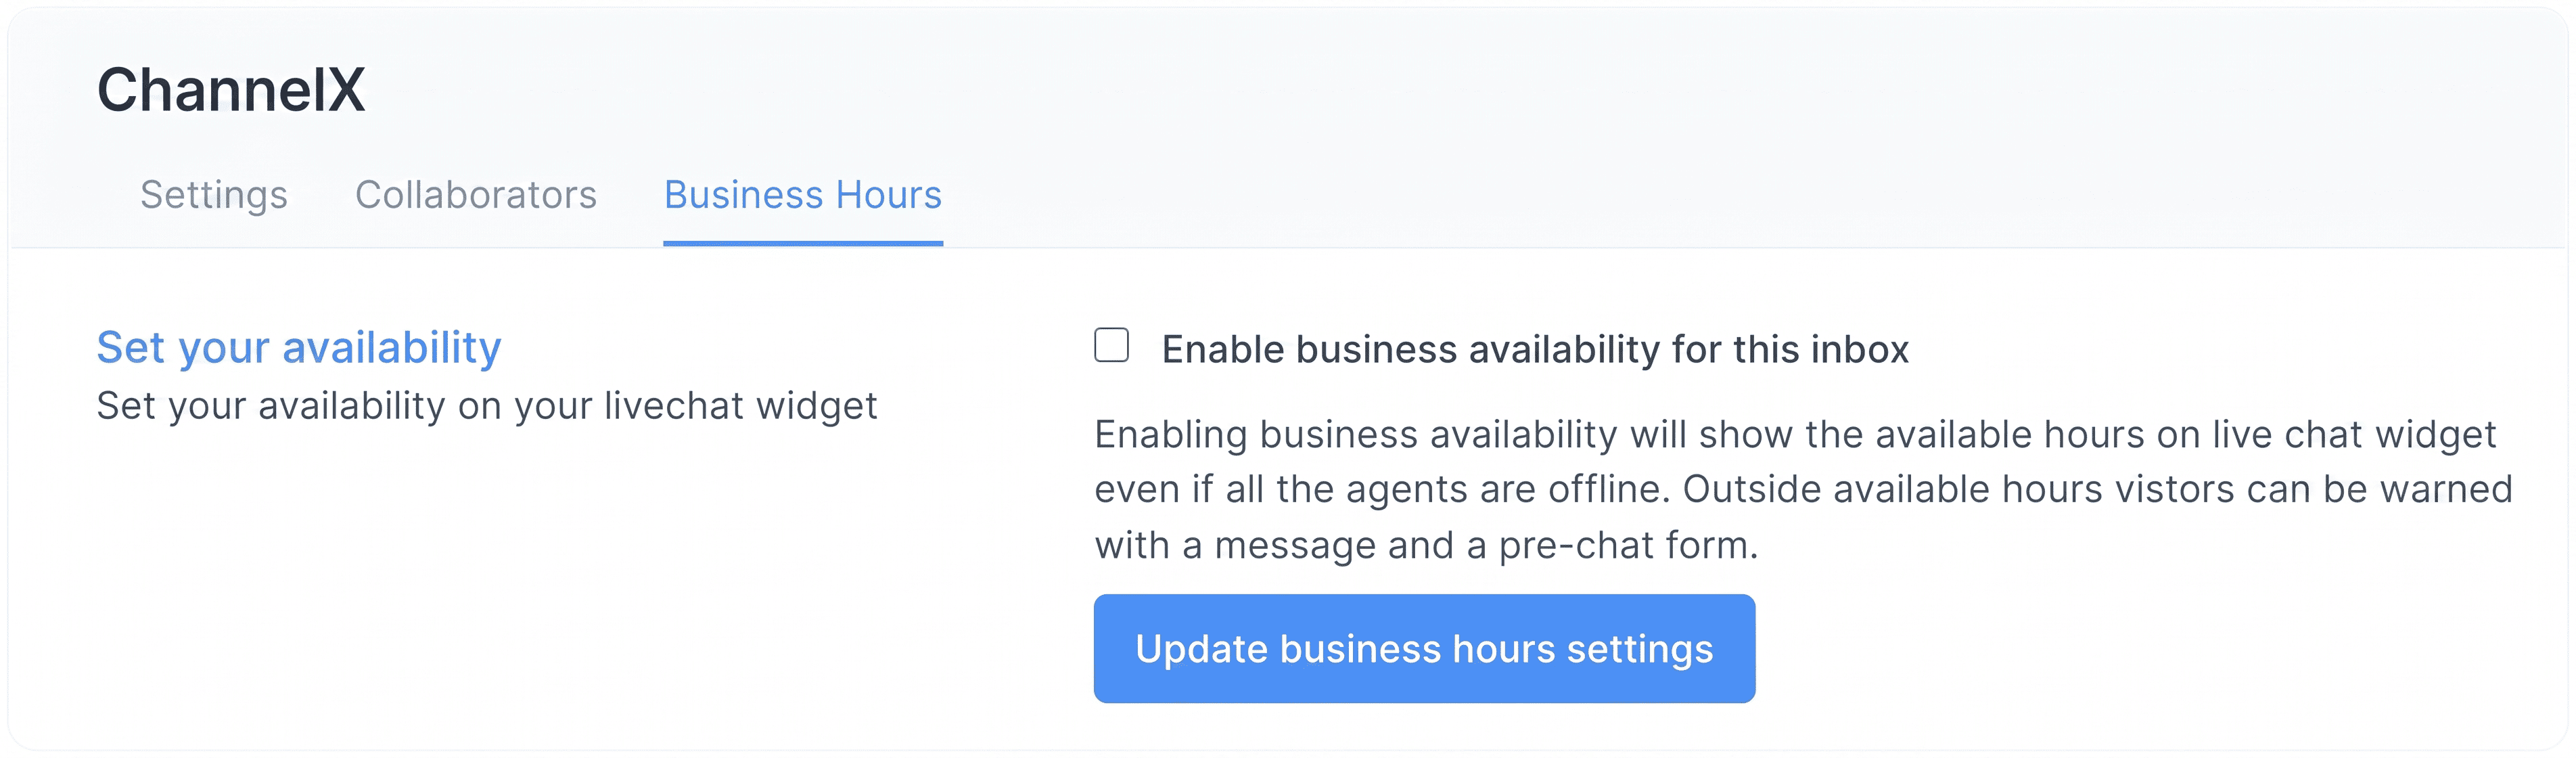
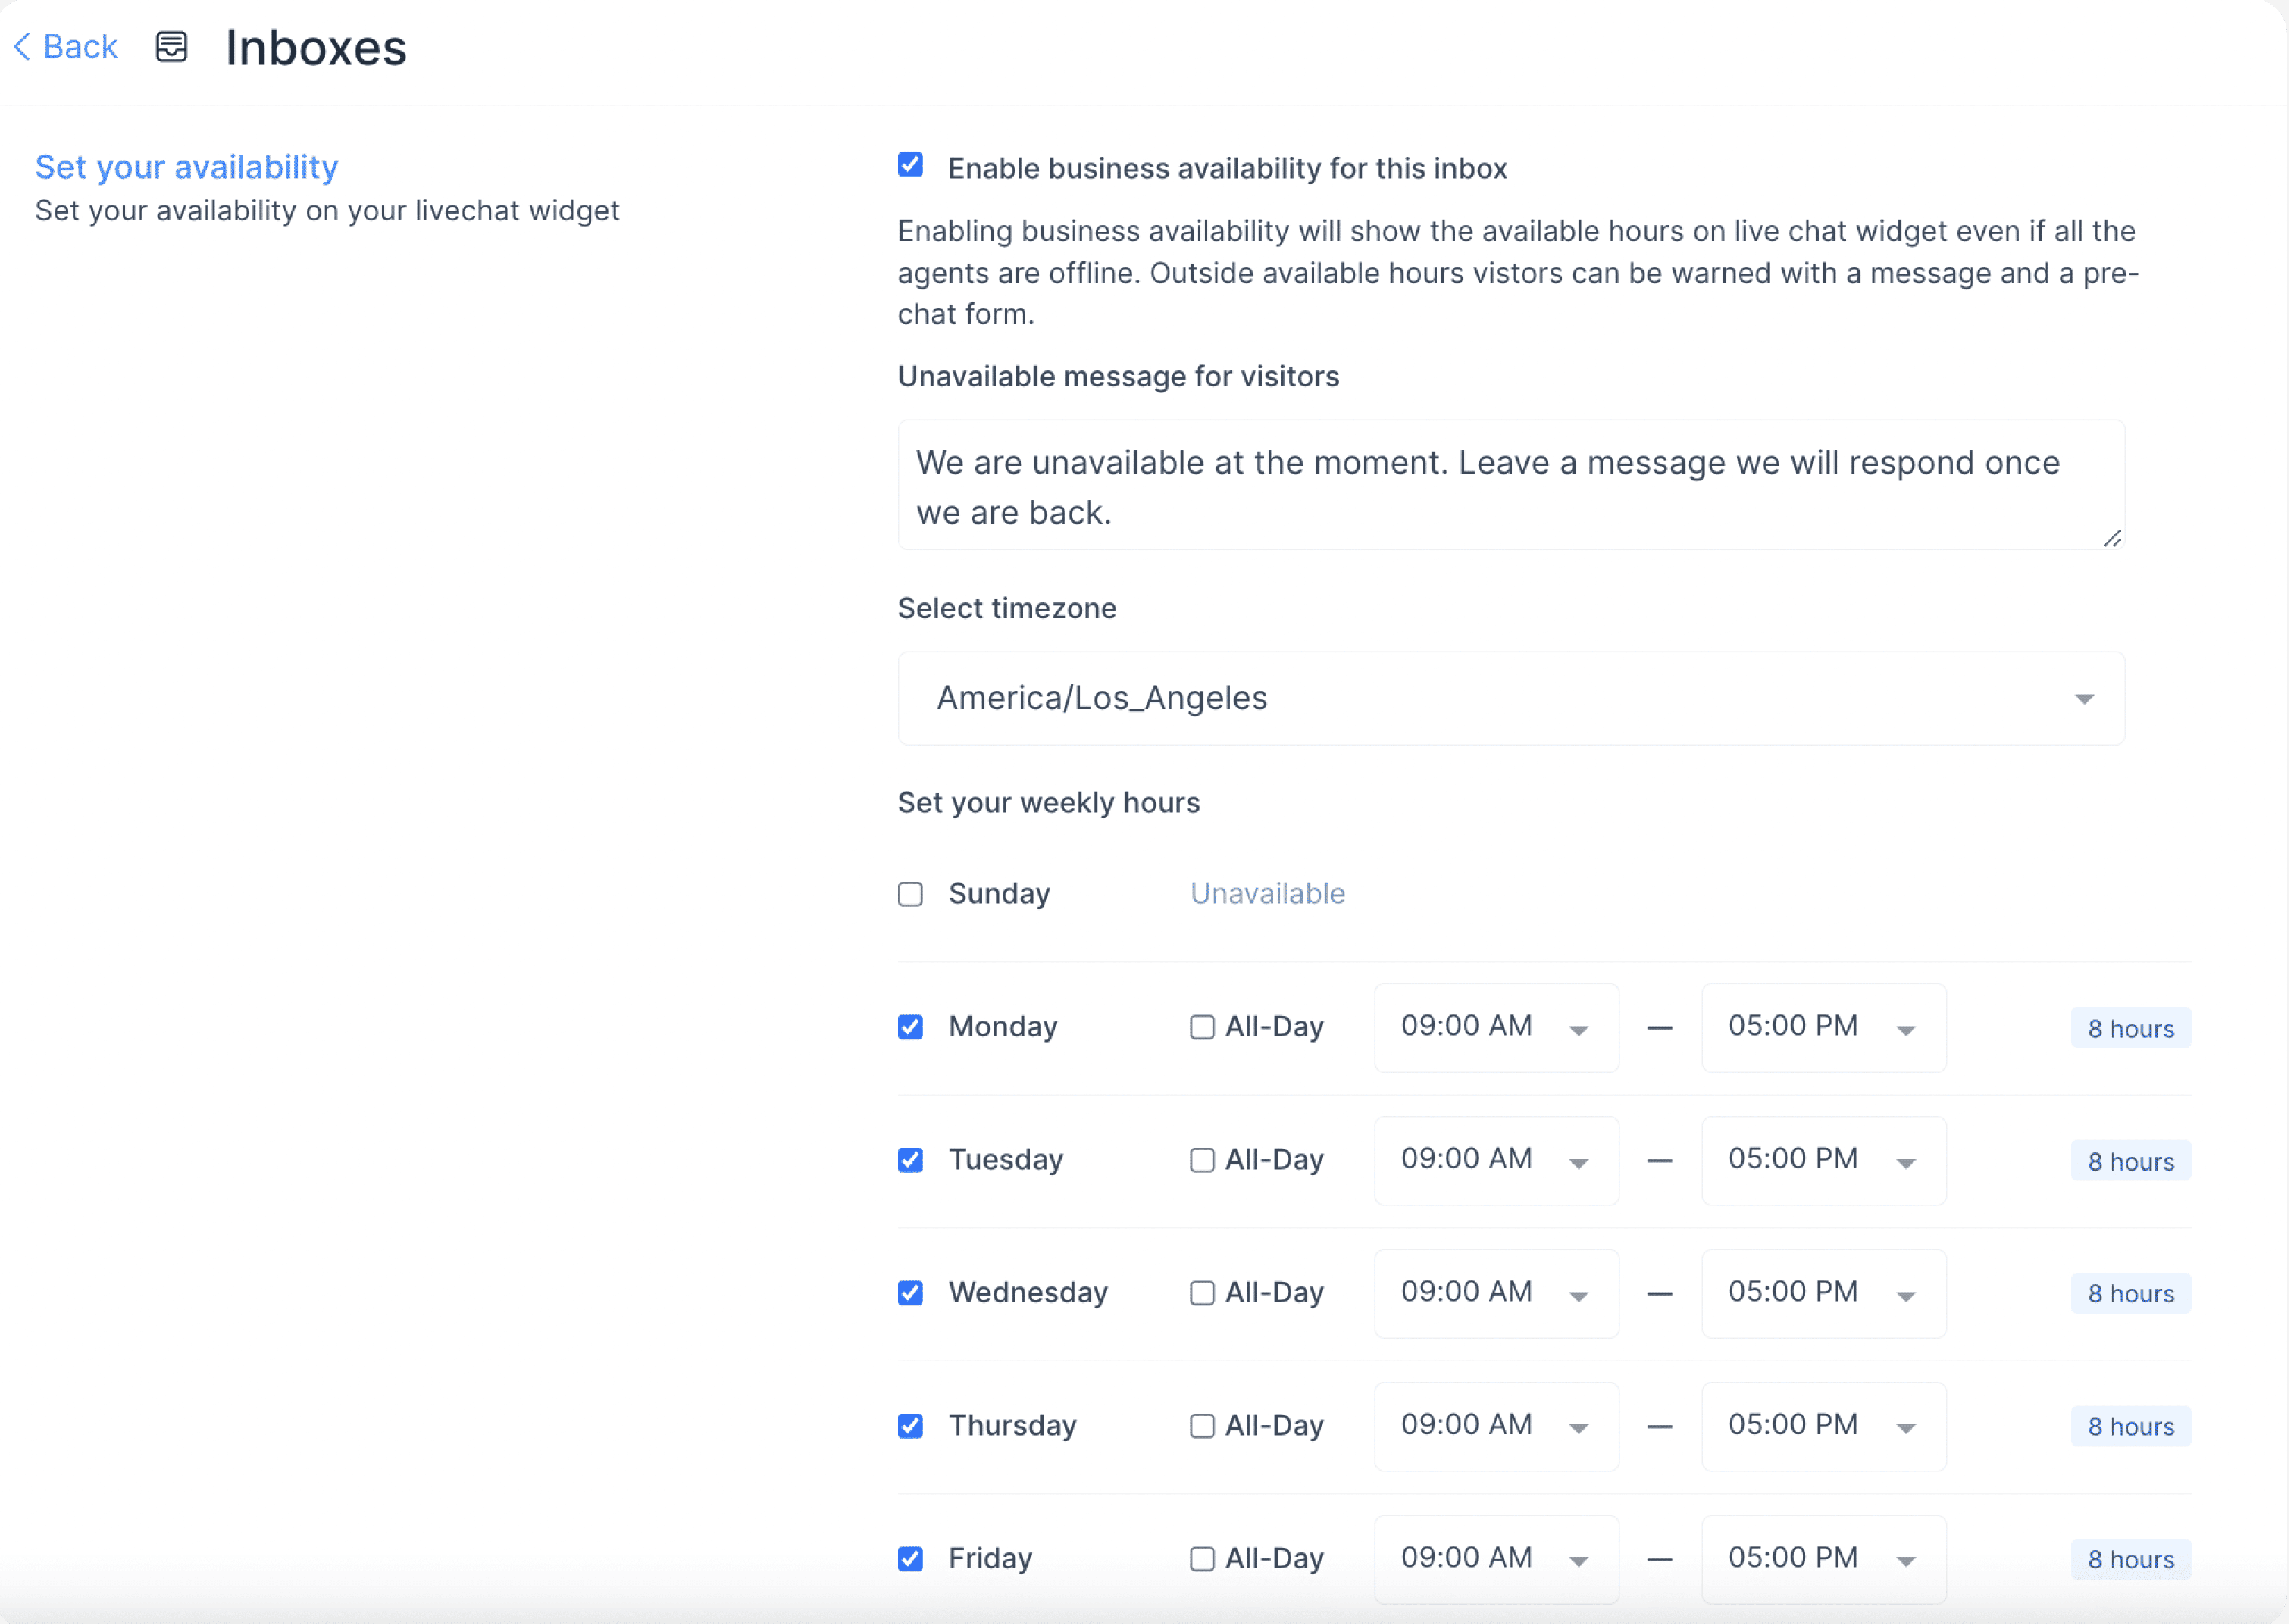
Set the working hours for the team that handles this inbox. Tick Enable business availability for this inbox, then choose the available hours for each day of the week and the correct time zone. You can also write a message shown to customers outside business hours.
Note
If an AI assistant is enabled on the inbox, the out-of-hours unavailability message is suppressed — the assistant handles conversations directly, even outside business hours. The unavailability message is only sent if the assistant hands the conversation to a human agent or is not configured for the inbox.
Click Update Business Hour Setting to save your changes.