Live Chat Settings
This page explains how to set up a Website inbox in ChannelX and walks through every settings tab so you can shape exactly how the live chat widget looks and behaves.
Compatibility
The dashboard and the live chat widget work in current versions of all major browsers — Firefox, Chrome, Chromium, Safari, and Edge. The ChannelX mobile apps support Android 5.0 and later and iOS 11.0 and later.
Create a website channel
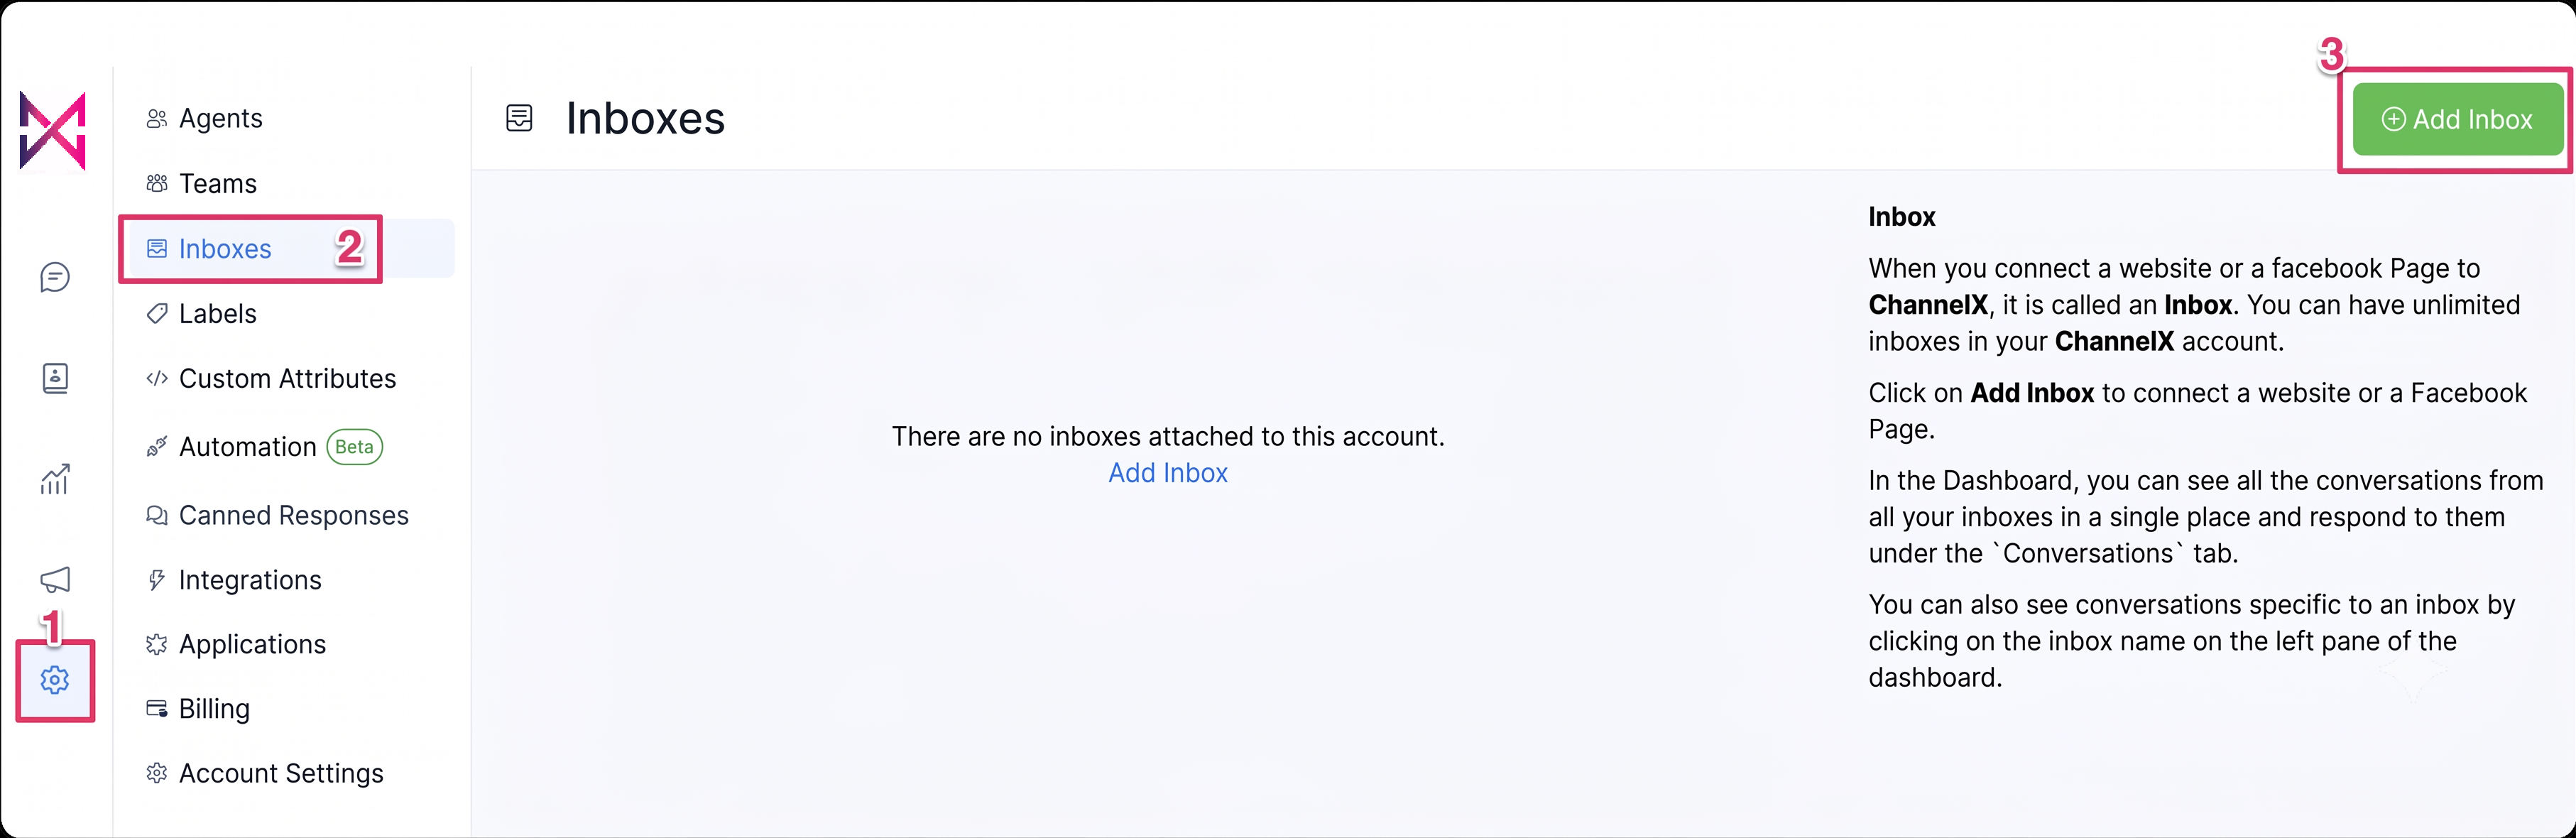
Step 1. Go to Settings → Inboxes → Add Inbox.
Step 2. Choose the Website channel.
Step 3. Enter the inbox details:
- Website name — your site's name, e.g. Example Inc.
- Website domain — the URL where the widget will run, e.g.
www.example.com. - Widget color — the accent color for the chat bubble and header.
- Welcome heading — a short greeting visitors see when they open the widget, e.g. Hello there.
- Welcome tagline — a line of supporting text, e.g. We're here to help. Ask us anything.
- Channel greeting toggle — whether to send an automatic greeting when a customer starts a conversation.
- Channel greeting message — the text of that greeting, e.g. Hi. How can we help you?
Click Create Inbox.
Step 4. Add agents to the inbox. Conversations only route to agents who belong to the inbox — so even as an administrator, you must add yourself before the inbox appears on your screen. Select agents from the dropdown and click Add agents.
Step 5. Your website inbox is ready. Copy the code snippet shown and paste it into the root file of your website to make the widget live.
Finding the inbox later
To revisit an inbox's code or agent list, go to Settings → Inboxes, select your website inbox, and open its settings.
Additional inbox settings
Open your inbox settings (the gear icon) to fine-tune behavior. The tabs are below.
Settings tab
General configuration plus notification preferences for the inbox. Two options worth calling out:
- Email collect box — enabled by default. When a customer starts a conversation, the widget automatically prompts them for an email address so you can reach them later.
- CSAT — when enabled, a customer-satisfaction survey is sent each time a conversation is resolved. Results appear under Reports.
Click Update to save.
Collaborators tab
Add or remove the agents who can work this inbox, and toggle automatic assignment of new conversations to those agents. Click Update to save.
Business Hours tab
Define your team's working hours. Tick Enable business availability for this inbox to open the schedule, then set hours for each day along with the correct time zone. You can also write an out-of-hours message shown to customers when you're closed.
Pre Chat Form tab
Collect information from visitors before the chat begins.
- Enable pre chat form — choose Yes to use it, No to skip it.
- Pre chat message — an intro line, e.g. We need a few details to serve you better.
- Pre chat form fields — tick the fields to collect. Name, Email, and Phone are standard; any other field comes from a custom attribute, which you must create first.
Click Update to enable the form.
Configuration tab
Holds the code snippet to paste into your website's root file. Use the Copy button to grab it.
Widget Builder tab
Customize the widget's appearance with simple controls and preview your changes live before applying them.
Common questions
Why doesn't the inbox show up on my screen? You need to be added as an agent on the inbox — administrators included. Add yourself on the Collaborators tab.
Where do CSAT results appear? Under Reports, once you've enabled CSAT on the inbox.
Can I collect custom fields in the pre-chat form? Yes, but create them as custom attributes first; then they become available to tick in the form's field list.